Yes, most single missing shingles can be repaired quickly, often in under an hour, but exposed decking underneath changes the calculation entirely. If you can see bare wood or felt paper where a shingle should be, treat it as urgent, not cosmetic.
Here’s the order of operations:
- Document it. Take photos of the missing shingle and surrounding area from the ground before anyone touches the roof, especially if wind or hail caused it.
- Protect it, but only if needed. If rain is coming within 48 hours and no professional can get there first, a temporary tarp buys time.
- Assess the safety math. If the roof pitch is steep, the deck feels soft, or you’d need more than a straight-on ladder to reach it, call a roofer instead of climbing up.
Statistic: The Centers for Disease Control and Prevention tracks ladder falls as one of the most common causes of home-related injury emergency visits each year, and roof work is where most of them happen. The National Roofing Contractors Association recommends professional inspections twice a year, spring and fall, which is often enough to catch a loose shingle before it goes missing at all.
Key Takeaways
A single missing shingle over sound decking is a fast, low-cost repair, but skipping the underlayment check or the post-repair hose test is what turns a small fix into a bigger claim.
| Point | Details |
|---|---|
| Check the deck before anything else | Soft or stained decking means the job needs a professional, not a shingle swap. |
| Follow the nailing spec exactly | Use four nails on the manufacturer’s line, six in high-wind zones, to hold through storms. |
| Document before you repair | Photograph storm damage before fixing it so insurance claims aren’t denied for lack of evidence. |
| Verify with a hose test | Run water over the repair for 10 to 15 minutes while someone checks the attic for drips. |
| Jsignorexteriors offers licensed inspection and repair | Their process includes decking checks, underlayment patching, shingle matching, and warrantied work across Connecticut. |
Table of Contents
- How to Fix a Missing Roof Shingle Yourself
- Should You Repair It Yourself or Call a Roofer?
- Emergency Cover Options When a Pro Can’t Come Right Away
- What Does Missing Shingle Repair Cost, and When Does It Become Urgent?
- How Do You Verify the Repair Actually Holds?
- Why Most Roof Damage Advice Misses the Real Risk
- Get a Professional Roof Inspection From Jsignorexteriors
- Sources
How to Fix a Missing Roof Shingle Yourself
If the deck underneath looks solid, dry, and free of soft spots, a single missing asphalt shingle is one of the more approachable roofing repairs you can tackle on your own. It’s still roof work, though, and roof work has non-negotiable safety rules attached.
Before you climb up, check the pitch. Anything steeper than a 6:12 slope (a rise of 6 inches for every 12 inches of run) gets slippery fast and isn’t a reasonable DIY project for most homeowners. Use a properly footed extension ladder, wear rubber-soled shoes, and never work alone. Have someone hold the ladder or at least know you’re up there.
Tools and materials you’ll need:
- Replacement shingle that matches your existing ones in style, color, and age
- Roofing nails (galvanized, not standard) and a hammer or pneumatic nailer
- Roofing cement and a caulk gun or putty knife
- A flat pry bar or shingle removal tool
- Work gloves and non-slip footwear
The actual repair follows a seven-step sequence used across the roofing trade:
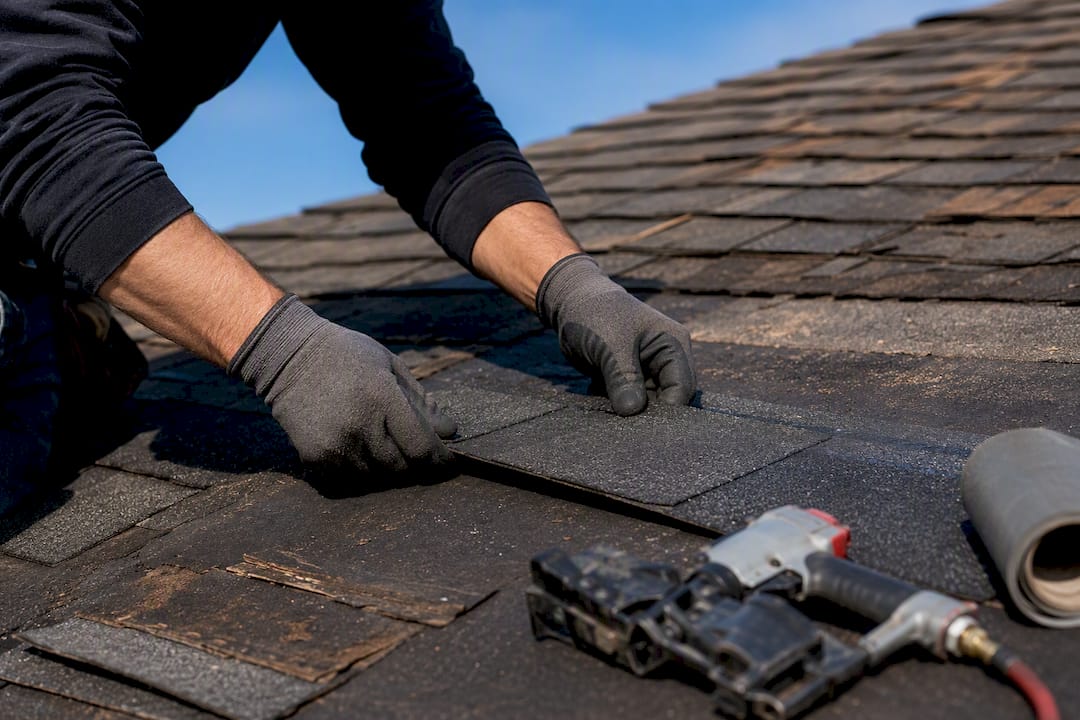
- Break the seal on the damaged shingle and the shingles directly above it, since asphalt shingles are sealed together with factory adhesive strips that need to be loosened before anything moves.
- Remove the nails holding the old or damaged shingle in place, usually four of them, using the pry bar to lift each nail head.
- Slide out the old shingle completely, checking for leftover nail fragments in the process.
- Inspect the exposed underlayment and decking for staining, softness, or daylight coming through, any of which means you stop and call a professional.
- Slide the new shingle into place, aligning it with the surrounding course so tabs and cutouts match the pattern.
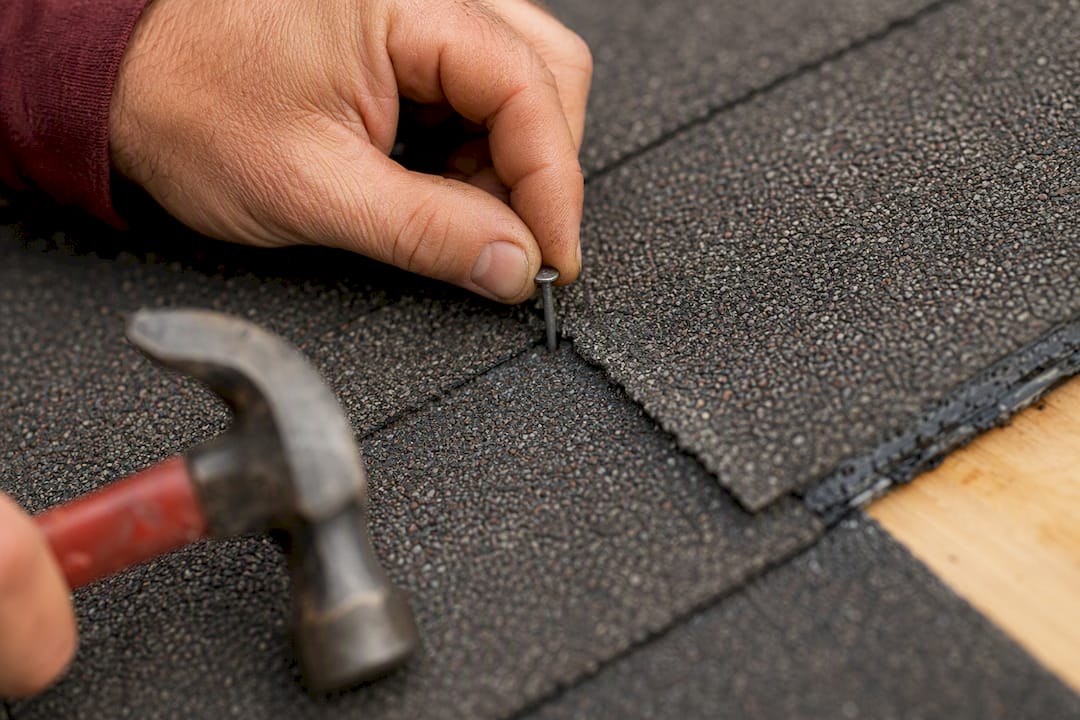
- Nail it to manufacturer spec. Standard three-tab shingles need four nails minimum, six in high-wind zones, placed exactly on the nail line printed on the shingle. Nail placement is what separates a repair that survives a windstorm from one that doesn’t.
- Reseal the edges with a dab of roofing cement under each tab corner and over exposed nail heads, then press firmly. On cooler days, weight the tab lightly until the adhesive bonds.
The correct order of operations matters more than most people assume: skip the underlayment check, and you fix the symptom while ignoring the cause.
Pro Tip: Do this work on a warm, dry afternoon whenever you can. Cold shingles are brittle and crack when you bend them; warm shingles flex. If it’s under 50°F, warm the shingle briefly in the sun or a heat gun before installing it.
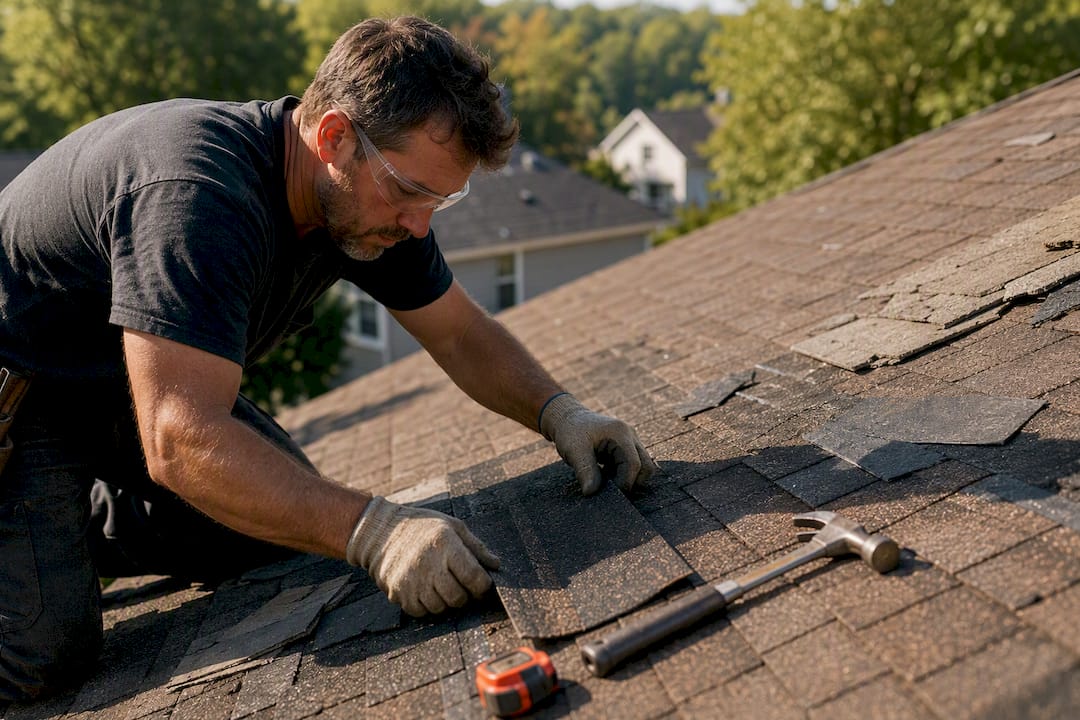
The most common failure isn’t a bad nail job. It’s skipping the cement seal on the tab edges, which leaves a gap for wind to grab, or nailing too high above the line, which misses solid decking underneath and leaves the shingle loose within a season.
Should You Repair It Yourself or Call a Roofer?
Not every missing shingle is a weekend project, and knowing the difference saves you from making a small problem worse. A few conditions should send you straight to the phone instead of the ladder.
- Location matters more than the shingle itself. Missing shingles near a ridge, valley, or flashing around a chimney or vent involve overlapping materials and water diversion paths that are easy to get wrong.
- Multiple losses signal an aging roof, not a fluke. If you’re finding more than two or three missing shingles, or your gutters are collecting a heavy load of granules, the roof may be nearing the end of its service life rather than suffering an isolated defect.
- Hidden damage overrides everything else. Soft spots underfoot, water stains on attic rafters, or visible daylight through the deck mean the repair scope is bigger than a shingle swap.
- Access constraints are a legitimate reason to call a pro, full stop. Steep pitches, multi-story homes, or a roof you can’t comfortably and steadily reach with a standard ladder aren’t worth the risk for a $15 shingle.
If your roof checks out on all four points, DIY is reasonable. If it fails even one, a professional roof repair is the better call.
Emergency Cover Options When a Pro Can’t Come Right Away
If a storm is closing in and no contractor can reach you within 48 hours, a temporary cover is better than leaving decking exposed, but it has to be done without creating new damage.
- Anchor a tarp over the ridge, not just the hole. Drape it so it extends past the ridge line and down both sides, then weigh it down with sandbags or 2×4 boards along the edges. Never drive new nails through the deck to hold a tarp in place; every extra puncture is a future leak point.
- Use roofing cement for very small gaps only. A dab of cement can seal a minor tab lift for a few days, but it isn’t a substitute for a proper replacement and shouldn’t be treated as one.
- Set a deadline for the real fix. A tarp is a stopgap, not a solution. Plan for the permanent repair within a week, sooner if more rain is forecast.
Pro Tip: If the missing shingle came from wind or hail, photograph the damage from multiple angles before you tarp anything. Once the tarp goes up, an adjuster can’t see the original damage pattern.
What Does Missing Shingle Repair Cost, and When Does It Become Urgent?
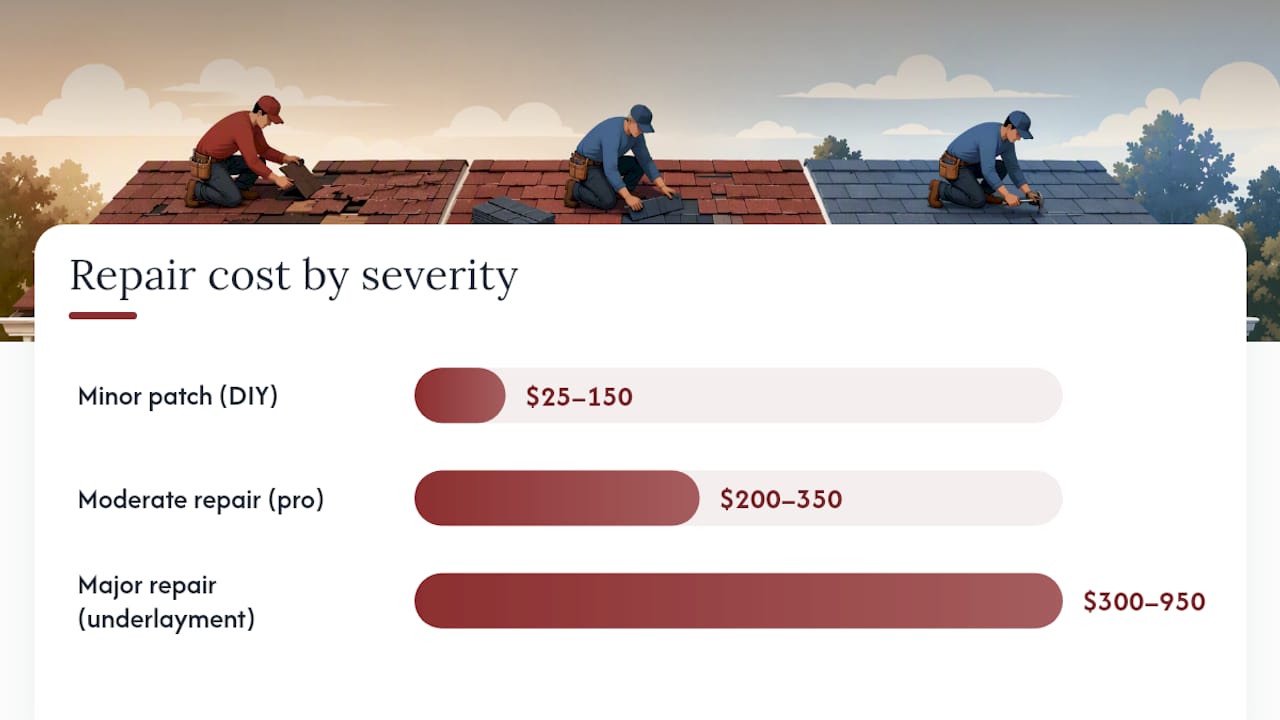
Materials for a DIY fix typically run $25 to $150, covering a bundle of matching shingles, nails, and cement. A professional handling one to five missing shingles usually charges in the $200 to $350 range for the visit and repair, though that climbs toward $300 to $950 when underlayment patching or decking replacement is involved.
Time is the variable that changes the math. Water intrusion can begin triggering rot or mold growth within 24 to 48 hours of sustained exposure, and a repair that costs a few hundred dollars initially can escalate into thousands in structural repair if ignored for several months.
- Underlayment patching typically adds a few hundred dollars per section.
- A single sheet of replacement decking runs into the job when rot has spread.
- Ridge cap repairs are usually priced per linear foot, separate from flat-field shingle work.
If storm damage is involved, photograph everything before repairs begin and get a contractor’s written inspection report before accepting an insurance adjuster’s initial assessment. FEMA’s disaster documentation guidance outlines what evidence insurers typically expect for a storm claim.
How Do You Verify the Repair Actually Holds?
A shingle that looks right from the ground can still leak. Verification takes fifteen extra minutes and catches problems before they become drywall damage.
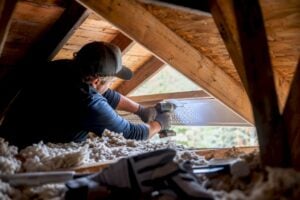
- Check the attic first. Look for water stains on rafters, damp or compressed insulation, or a musty smell, any of which point to a leak that predates or survived the repair.
- Probe the deck around the repair. Press gently with a screwdriver handle near the repaired area; if the wood gives or feels spongy, stop and call a professional, since that’s beyond a shingle-level fix.
- Run the hose test. Have someone watch the attic from inside while you run a garden hose over the repair, starting low and working upward, for 10 to 15 minutes. Any drip inside means the seal failed.
- Track the next few rain events. Check the attic after the next two to four storms. A repair that holds through varied wind directions and rain intensities is one you can trust.
| Point | Details |
|---|---|
| Nailing spec matters | Use four nails minimum on the manufacturer’s nail line, six in high-wind areas, for proper wind resistance. |
| Deck condition decides DIY vs. pro | Soft, stained, or spongy decking means the job has outgrown a simple shingle swap. |
| Verify before you trust it | Run a 10 to 15 minute hose test with an attic observer to confirm the seal actually holds. |
Why a Licensed Roofing Contractor Matters Here
Jsignorexteriors has operated as a family-owned exterior contractor in Connecticut for more than 30 years, licensed and insured, with roofing and flashing repair as a core specialty. A professional inspection from Jsignorexteriors typically includes a decking check for rot or soft spots, underlayment patching where needed, shingle matching for color and style, correct nailing to manufacturer spec, and a workmanship warranty on the finished repair.
A homeowner doesn’t need to guess whether hidden damage is lurking under a missing shingle. A trained eye checking the decking and underlayment before nailing anything back down is the difference between a repair that lasts and one that fails at the next storm.
That same visit generates documentation, photos and a written inspection report, that homeowners can hand directly to an insurance adjuster. If you’re weighing a repair against full roof replacement, a professional assessment settles that question with evidence instead of guesswork.
Why Most Roof Damage Advice Misses the Real Risk
The internet’s advice on fixing a missing shingle is mostly correct on technique and mostly silent on judgment. Plenty of guides walk through the seven-step replacement process accurately. Few of them tell you when to stop, and that’s the part that actually protects your house.
The conventional wisdom treats every missing shingle as a weekend project with a shopping list attached. It isn’t. The deck underneath is the real variable, and a homeowner standing on a ladder has no reliable way to judge whether that plywood is sound just by looking at it from three feet away. That’s not a knock on DIY skill. It’s a limitation of the vantage point.
If there’s one thing worth doing differently than most how-to articles suggest, it’s this: run the hose test before you call the repair finished, and document everything with photos before you touch a single shingle if there’s any chance a storm caused the damage. Insurance claims get denied over missing documentation far more often than over the quality of the patch job itself. Prioritize evidence and verification over speed, and the repair itself becomes the easy part.
— Adam
Get a Professional Roof Inspection From Jsignorexteriors
If a missing shingle has you wondering what’s happening underneath it, Jsignorexteriors gives Connecticut homeowners a straight answer instead of a guess, backed by more than 30 years of licensed, insured roofing work across the state.

Where a DIY fix stops at the visible shingle, a Jsignorexteriors inspection checks the decking, underlayment, and nailing pattern underneath it, then documents everything in writing for your records or your insurer. That matters most when you’re not sure if what you’re looking at is a $200 repair or the first sign of a bigger problem. The team handles everything from single-shingle patches to full roof replacement, matching materials and warranting the work either way.
If you’ve spotted a missing shingle on your Connecticut home, request an inspection through Jsignorexteriors’ roofing contractor page and get a written assessment before small damage turns into a bigger repair bill.