Hairline, dry, non-moving cracks need a surface patch or sealant. Vertical cracks that leak call for polyurethane injection because it cures wet and stays flexible. Dry, dormant cracks that need real structural bond call for epoxy injection. Horizontal, stair-step, offset, or widening cracks mean you should stop and call a structural engineer. Every injection seals a specific crack; fixing the drainage or soil issue behind it is what makes the repair last.
TL;DR:
- Cracks wider than 1/4 inch, horizontal patterns, or those causing doors and floors to stick require professional structural assessment and potential reinforcement.
- Active leaks or widening cracks are best addressed with polyurethane injections, but these do not solve underlying soil or water issues that may cause recurrence.
- DIY repairs are suitable only for hairline, dry cracks and should be combined with regular monitoring to detect any signs of movement or worsening.
- Structural repairs involving wall bowing or significant displacement often cost thousands of dollars and need a licensed engineer’s diagnosis before repair.
- Address water and grading issues around the foundation, as injection fixes alone do not prevent future cracks if hydrostatic pressure remains unmitigated.
Table of Contents
- How to Assess a Foundation Crack Before You Repair It
- DIY Repair Methods by Crack Severity
- When Do You Need Professional Structural Repairs?
- What Actually Happens During Crack Injection?
- Why Injection Alone Doesn’t Always Solve the Problem
- What Do Industry Standards Say About Structural Boundaries?
- Your Next Steps After Reading This
- What Homeowners Get Wrong About Crack Repair
- How J. Signor Exteriors Handles Foundation and Masonry Repairs
- Sources
How to Assess a Foundation Crack Before You Repair It
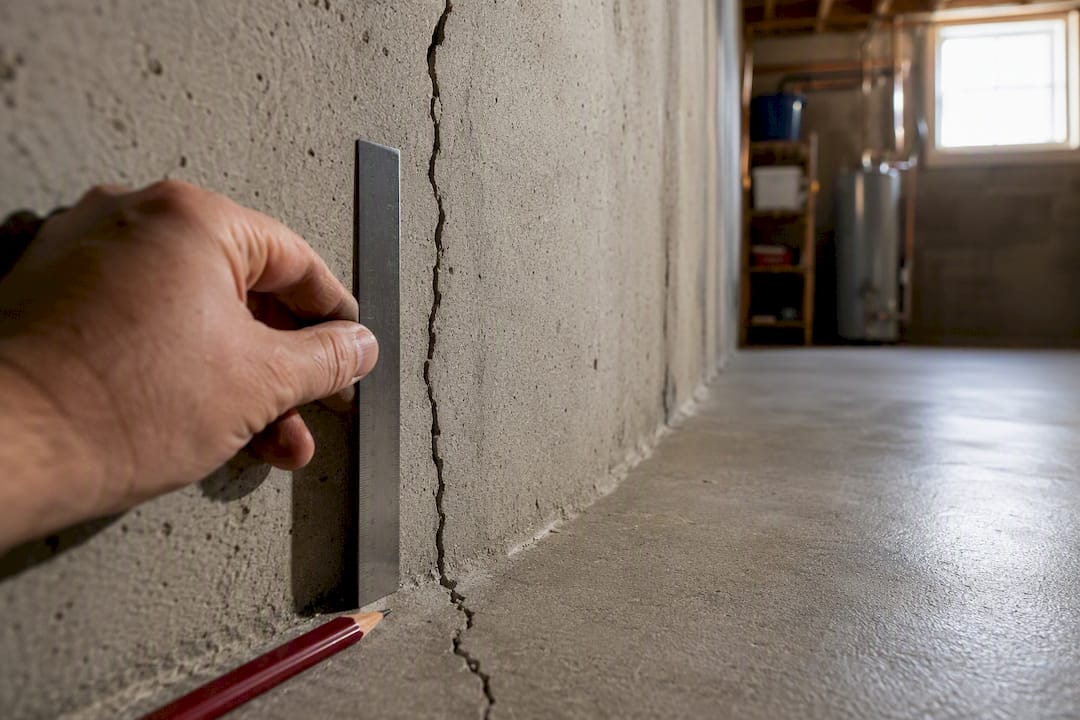
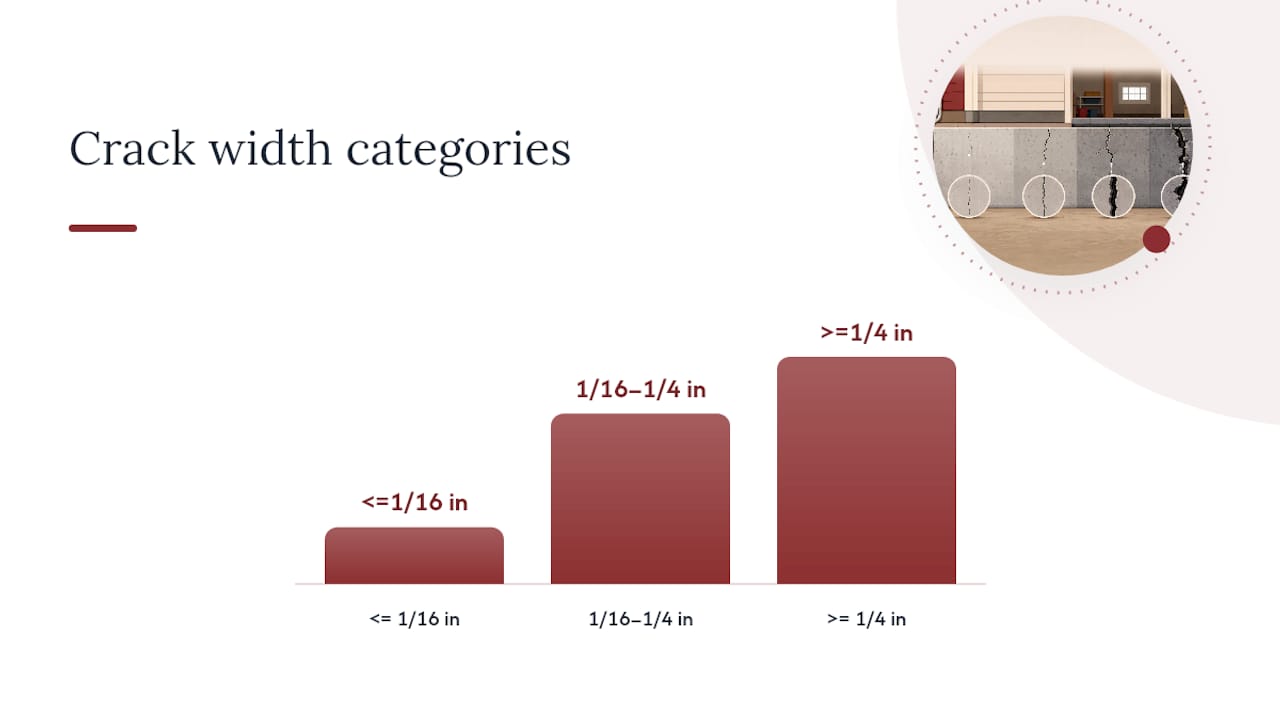
Grab a coin or a ruler before you grab a caulk gun. Width tells you almost everything: a crack under 1/16 inch is usually cosmetic, while anything approaching 1/4 inch or wider deserves closer attention. Mark both ends with a pencil line and the date, or just photograph it against a tape measure every few weeks. If the crack has grown or the marks no longer line up, that’s active movement, not old damage settling into place.
Orientation matters as much as width. Vertical and diagonal cracks in poured concrete are the most common and often the least alarming. Horizontal cracks, stair-step patterns in block walls, and any crack where one side has shifted higher or lower than the other are frequently structural warning signs that need an engineer, not a patch kit, according to foundation repair cost guidance.
Water changes the calculus too; understanding slab leaks and plumbing-related foundation moisture issues is critical, as detailed in this homeowner’s guide to slab leaks. A damp crack with no active flow can often wait for a scheduled repair. A crack actively weeping or dripping needs attention sooner, and it points you toward polyurethane rather than epoxy.
Watch for these signs together, not in isolation:
- Crack width exceeding 1/4 inch or growing over a few weeks
- Horizontal cracking or a stair-step pattern in block or brick
- Doors and windows sticking or no longer latching
- Uneven or sloping floors near an exterior wall
- Visible offset where one side of the crack sits higher than the other
Pro Tip: Check new cracks weekly for the first month. Once a crack proves stable, monthly checks are enough to catch any return to movement.
DIY Repair Methods by Crack Severity
Not every crack needs a contractor, and not every crack should be left to a homeowner with a caulk gun. The right method depends on width, moisture, and whether the crack is still moving.
- Hairline cracks (under 1/16 inch, dry). A vinyl patching compound handles cosmetic gaps for $10 to $50. Hydraulic cement works as a temporary water stop if you notice minor seepage, though it’s a stopgap rather than a permanent seal.
- Narrow vertical cracks (1/16 to 1/4 inch). Concrete-compatible caulk, sometimes paired with a foam backer rod, runs $10 to $60 and handles cracks that aren’t actively leaking.
- Leaking vertical cracks. Polyurethane injection kits, priced around $30 to $150, are built for this. Polyurethane cures in the presence of moisture and stays flexible after it sets, which is why it’s the practical first choice for active or wet leaks rather than epoxy, according to BobVila’s guidance on foundation crack repair.
- Small dry cracks needing structural bond. Two-part epoxy injection kits restore rigid strength, but only when the crack is dry and dormant. Injecting epoxy into a wet or still-moving crack is one of the most common DIY failures, since the material won’t bond properly and won’t flex if the crack keeps shifting, per DryBasementHub’s repair guide.
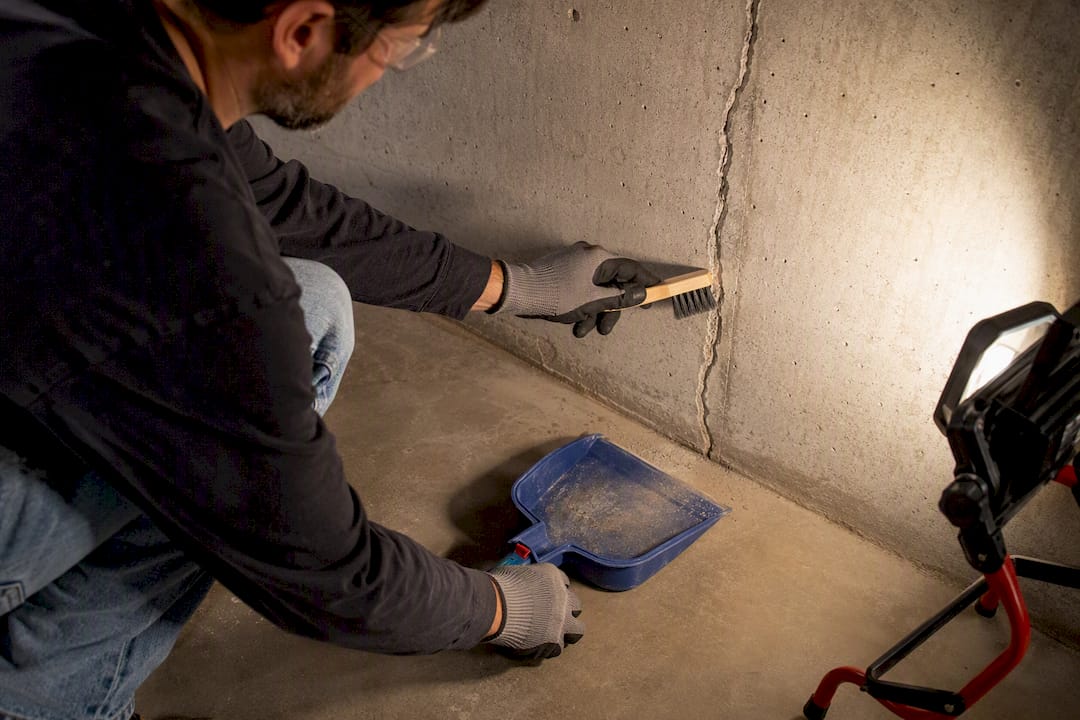
Before injecting or patching anything, clean the crack of loose debris and dust, undercut the edges slightly with a chisel or grinder so the patch has something to grip, and let the area dry fully if you’re using epoxy. Work in a ventilated space, wear gloves and eye protection, and keep a rag and mineral spirits on hand for cleanup. A trowel, wire brush, caulk gun, and a two-part injection kit cover most small jobs, and the prep steps a True Value DIY guide recommends largely match what contractors do on a larger scale.
Stop and call a professional if you see any of the following: horizontal cracking, a stair-step pattern, a crack that keeps widening between checks, a bowing wall, or any crack wider than 1/4 to 1/2 inch. Those are structural signals, and sealing over them without stabilization just hides a problem that keeps growing.
When Do You Need Professional Structural Repairs?
Once a crack shows horizontal movement, stair-stepping, or a wall that’s visibly bowing inward, the fix moves from a caulk gun to an engineer’s stamp. A structural engineer’s report gives you a written scope of work and priority order, and it’s the document any reputable contractor should be building their bid around, not guessing at.
The repair itself usually falls into one of a few categories:
- Carbon fiber straps restrain a bowing wall from moving further, typically for a few hundred dollars per strap, and work best on walls with mild deflection rather than severe displacement.
- Wall anchors and exterior tiebacks use steel rods driven into stable soil beyond the foundation to pull a bowing wall back over time, often preferred when there’s room to excavate and access the yard side of the wall.
- Steel I-beams brace a wall internally when bowing is more advanced, sometimes paired with excavation on the exterior side for heavier reinforcement.
- Underpinning with helical or push piers addresses settlement by transferring the foundation’s load down to stable soil or bedrock, and it’s the most involved of these fixes.
Pier-based underpinning costs scale with how many piers a home needs and how deep they have to go, and full projects can run from $10,000 to more than $30,000 depending on severity and pier count, according to industry cost data on foundation repair. Contractors handling structural work regularly pair it with drainage improvements, since fixing the wall without addressing the water pressure behind it just invites the same problem back in a different spot.
What Actually Happens During Crack Injection?
Injection looks simple from the outside: drill, insert, fill. The process behind it is more deliberate, and understanding it helps you tell a careful contractor from a fast one.
Surface prep comes first. The crack gets cleaned of debris and dust, and edges may be undercut slightly to improve the mechanical grip. If moisture is present and the plan calls for epoxy anyway, the contractor needs a moisture-tolerant epoxy formula rather than a standard one.
Next come injection ports, small fittings set along the crack at intervals close enough to fully saturate the gap without overspacing. A surface cap seal, typically epoxy, silicone, or wax, holds material in as it’s pumped in and keeps pressure from blowing the crack back open. For vertical cracks, injection generally starts at the bottom port and works upward, letting material push out trapped air ahead of it rather than sealing it in.
Material gets pumped in until it reaches refusal, meaning it stops accepting more material at the working pressure, at which point the ports are capped. Low-viscosity epoxies flow into hairline cracks that thicker formulas can’t reach, while polyurethane’s flexibility makes it the better match for cracks still under slight seasonal movement.
Quality assurance after injection can include pulling a test core or running nondestructive evaluation to confirm the material fully penetrated the crack, standard practice referenced in ACI’s RAP-1 guidance on epoxy injection repair.
Ask any contractor doing injection work how they verify penetration. A contractor with no answer beyond “we fill it until it looks full” isn’t following the same standard the concrete industry documents.
Why Injection Alone Doesn’t Always Solve the Problem
Sealing a crack stops water at that exact point. It doesn’t change the water pressure building against your foundation wall, and hydrostatic pressure has a way of finding the next weak spot once the old one is closed off. ASTM D8109’s guidance on chemical grout injection is explicit about this limit: injection addresses the leak, not the cause, and periodic monitoring or repeat repairs are common even after a correct application.
Two paths address the underlying cause. Exterior waterproofing means excavating down to the footing and applying a membrane, which is expensive and disruptive but treats the wall from the source side. Interior perimeter drainage, routing water to a sump pump or French drain, is cheaper and less invasive but manages water rather than blocking it outright.
Homeowners can handle some of this without a contractor:
- Regrade soil so it slopes away from the foundation
- Clean gutters and extend downspouts at least four to six feet from the house
- Remove shrubs or plantings growing tight against the foundation wall
Pro Tip: If you’ve regraded, cleared gutters, and extended downspouts and still see recurring seepage, the problem is likely below grade. That’s when it’s worth bringing in a drainage specialist rather than repeating the same interior patch every spring.
What Do Industry Standards Say About Structural Boundaries?
ASTM D8109 sets a clear scope for chemical grout injection: it’s a waterproofing tool for sealing leaks, not a structural repair method, and it doesn’t correct the geotechnical issue causing the crack. ACI’s repair methodology guidance goes further, stating that determining the cause of damage has to come before selecting any repair method, since the wrong fix on the wrong cause fails predictably.
That boundary is the same one licensed contractors work within. J. Signor Exteriors is a licensed and insured contractor handling masonry and concrete repair work across Connecticut, and that licensing structure exists precisely so structural work gets referred to an engineer first. Engineers diagnose and specify; contractors execute that spec correctly. Skipping the diagnosis step to save time is how a $500 crack repair turns into a $15,000 wall replacement two years later.
Your Next Steps After Reading This
Foundation cracks reward patience more than speed. Move through this sequence:
- Monitor and document. Measure width, note orientation, and photograph the crack against a ruler every few weeks.
- Attempt safe DIY repair if eligible. Hairline and narrow vertical cracks with no active movement are fair game for patching or injection kits.
- Get an engineer’s spec and three bids for anything structural. Horizontal cracks, bowing, or stair-stepping mean a written diagnosis before any contractor touches the wall.
When you’re vetting a contractor, ask about licensing and insurance, request references from similar jobs, get a written warranty, and confirm the proposed scope actually matches what the engineer specified. Budget loosely: small DIY fixes run under $50, injection jobs typically land between $250 and $800, and full underpinning can reach five figures.
What Homeowners Get Wrong About Crack Repair
Most crack repair advice treats every crack the same way: fill it, seal it, move on. That’s backwards. The width and orientation of a crack tell you more about the right fix than any product label does, and the industry standards back that up. ASTM’s own guidance for chemical injection admits it doesn’t fix the underlying cause, and ACI’s methodology puts cause diagnosis before repair selection for a reason.
The bigger gap I see is homeowners treating injection as a permanent cure rather than a targeted fix. Polyurethane and epoxy both do exactly what they’re designed to do, and nothing more. If the soil around your foundation stays saturated or your grading still slopes toward the house, you’ll likely be back at that same wall in two or three years, patching a new crack a few feet from the old one.
Prioritize the diagnosis over the product. A $150 injection kit is money well spent on a stable, dry, narrow crack. That same $150 is wasted on a wall that’s actively bowing, because no injection method fixes a wall that’s structurally failing. Know which crack you’re looking at before you buy anything.
— Adam
How J. Signor Exteriors Handles Foundation and Masonry Repairs
For homeowners facing cracks that are more than cosmetic, choosing a properly licensed and insured contractor is preferable to relying on online kits and guesswork.

Our team’s masonry and concrete repair services cover block and foundation wall repair, and we routinely coordinate that work with drainage and roofing fixes when water intrusion is part of the problem, since sealing a crack without addressing where the water is coming from rarely holds. An inspection typically starts with a visual assessment of crack width, orientation, and any signs of active movement, and may be followed by a written estimate detailing the scope, materials, and timeline before work begins. If your inspection points toward block wall damage specifically, our concrete block repair guide walks through what that process typically involves.
If you’ve spotted a crack that’s widening, leaking, or paired with sticking doors and sloping floors, request an inspection and get a straight answer on what it needs before you buy a kit or sign a contract.
Sources
- ASTM D8109 – Standard Guide for Waterproofing Repair of Concrete by Chemical Grout Crack Injection
- Foundation Crack Repair Guide — DryBasementHub
- How to Know When You Should Repair a Foundation Crack — BobVila