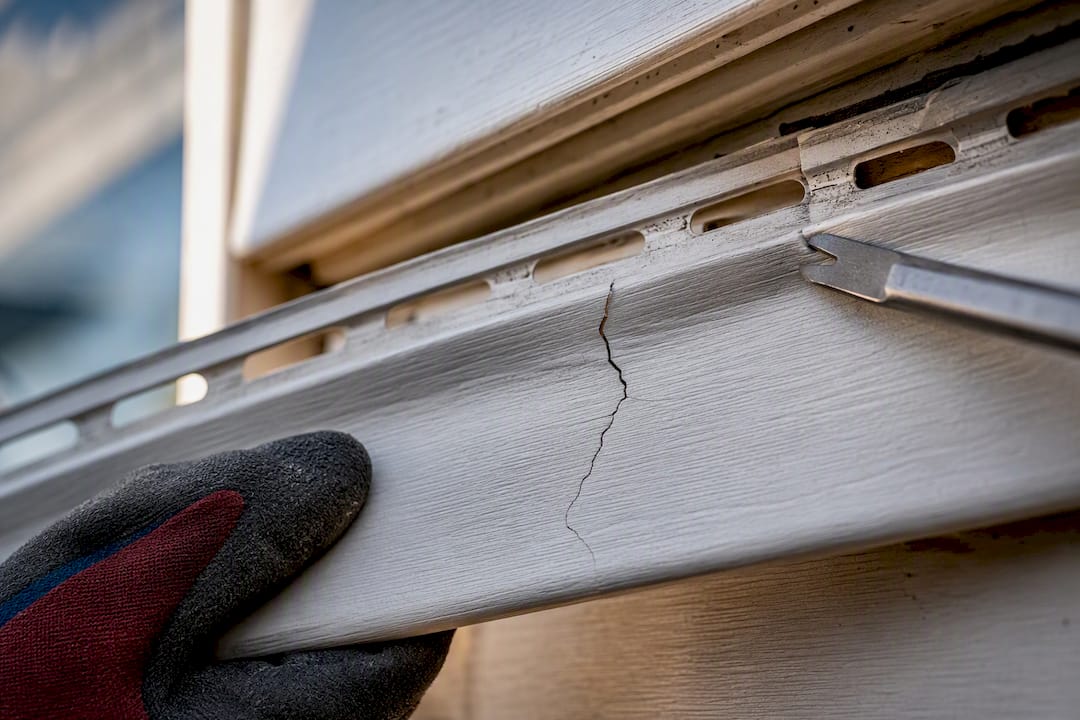
Most vinyl siding cracks under half an inch can be repaired with color-matched caulk or a patch kit in under an hour. Cracks longer than six inches, shattered panels, or any spot where you can feel soft sheathing underneath mean it’s time to cut out the panel and replace it, or call a professional. Either way, don’t wait: clean out loose debris and seal the gap with exterior caulk today, even if the full repair comes later this weekend.
TL;DR:
- Cracks under half an inch can be repaired with caulk or patches, but longer or shattered panels require full replacement to prevent water damage.
- Installing panels with improper nailing or thermal issues accelerates cracking, especially in shaded or heat-radiating areas; proper fastener placement is essential.
- Soft sheathing behind a crack indicates hidden rot or moisture problems, necessitating sealing with plastic and avoiding caulk until underlying issues are addressed.
- Repair methods vary by crack size, from simple caulking for tiny cracks to panel removal and replacement for larger damage, always considering expansion gaps.
- Regular maintenance, including inspection and avoiding heat sources near siding, helps prevent future cracks and prolongs the siding’s lifespan.
Table of Contents
- What Causes Vinyl Siding to Crack?
- How Do I Know If a Crack Needs Repair or Replacement?
- What Tools and Materials Do You Need for Vinyl Siding Repair?
- How Do You Fix Vinyl Siding Cracks by Size?
- How Can You Prevent Vinyl Siding From Cracking Again?
- What a Contractor Actually Checks Before Approving a Repair
- Get a Straight Answer on Your Siding Damage
- Where to Learn More About Vinyl Siding Repair
- Sources
- FAQ
What Causes Vinyl Siding to Crack?
Three forces damage vinyl siding, and figuring out which one hit your house tells you whether you’re looking at a one-time fix or a recurring problem.
- Impact damage. A baseball, a ladder leaned against the wall, or a stray branch cracks panels instantly, regardless of the siding’s age.
- UV and age-related brittleness. Vinyl loses flexibility over decades of sun exposure, so older siding cracks from stress that newer panels would absorb.
- Installation errors. Face-nailing, skipping expansion gaps, or caulking horizontal laps locks panels in place so they can’t move with temperature swings, which is one of the most common and most fixable causes of vinyl siding cracks.
- Thermal stress. Vinyl expands and contracts significantly between a January morning and a July afternoon; panels installed near grills, dryer vents, or dark-colored surfaces that radiate heat crack faster than shaded areas.
If cracks keep appearing in the same section of wall, the cause is probably installation, not chance. That pattern is worth noting before you start repairing vinyl siding, because patching over a bad nailing job just buys you another crack next winter.
How Do I Know If a Crack Needs Repair or Replacement?
Grab a tape measure before you grab any tools. Vinyl siding acts as a rain screen, and a crack breaks that barrier, letting water reach the sheathing behind it. Left alone, that moisture leads to rot, mold, and eventually structural damage that costs far more than the original crack ever would.
Start with basic safety: wear eye protection and gloves, and make sure any ladder is on level ground with a spotter if you’re working above the first story.
- Clean the area. Wipe away dirt and pollen so you can see the full extent of the damage.
- Measure the crack. Note both length and width. This single number drives your entire repair decision.
- Probe nearby. Press gently on the sheathing through the crack. If it feels soft, spongy, or damp, stop your DIY plan here.
- Check adjacent panels. One cracked panel from an isolated impact is different from three cracked panels in a row, which usually points to an installation or thermal issue.
Use these thresholds: Hairline cracks that are very small seal with caulk alone. Slightly larger cracks take a caulk-and-patch combination. Medium-sized damage needs a backer patch. Long cracks or shattered panels call for full panel replacement.
Pro Tip: If you find soft sheathing or a musty smell behind the panel, cover the area with exterior-grade plastic sheeting and tape it down temporarily. Don’t caulk over hidden moisture. Sealing it in traps rot instead of stopping it.
What Tools and Materials Do You Need for Vinyl Siding Repair?
The one non-negotiable item on this list is the zip tool, sometimes called a siding removal tool. It’s a small hooked blade that slides along the panel seam to unlock interlocking siding without cracking the piece above it, and manufacturers and contractors alike consider it essential for any panel-level repair.
Tools:
- Zip tool (siding removal tool)
- Pry bar and tin snips
- Utility knife and tape measure
- Framing square
- Gloves and safety glasses
Materials:
- Color-matched exterior vinyl caulk
- Vinyl siding patch kit or vinyl patching compound
- Construction adhesive (exterior-rated)
- Galvanized or aluminum siding nails
- A replacement panel, if the damage calls for one
Timing matters more than most people expect. Vinyl gets brittle in cold weather and pliable in the heat, so repairs go smoother, and crack less during handling, on a warm afternoon than a freezing morning. Aim for a warm day if you can, and work in a shaded, ventilated area if you’re using solvent-based adhesive.
How Do You Fix Vinyl Siding Cracks by Size?
The repair method changes entirely depending on how big the crack is, so match your approach to the damage instead of defaulting to caulk for everything.
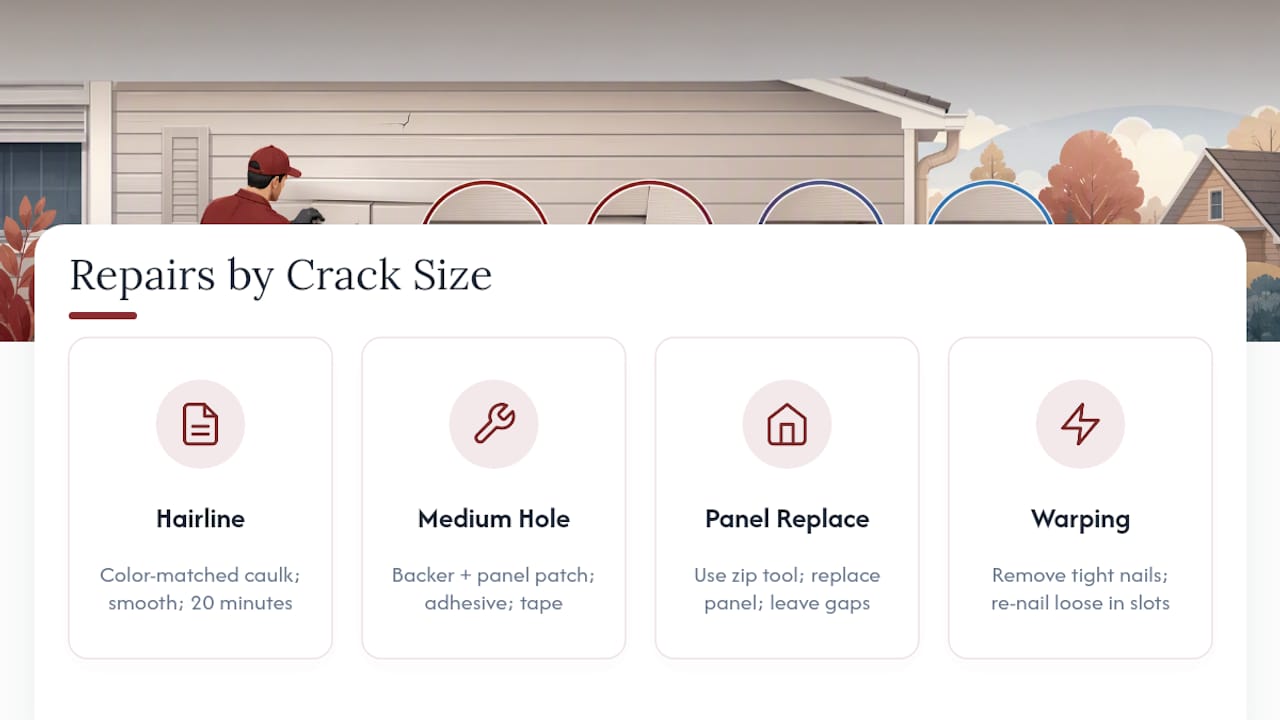
1. Hairline and small cracks (under 1/2 inch). Wipe the crack with rubbing alcohol to remove oils and dust. Apply a bead of color-matched vinyl caulk into the crack, smooth it with a putty knife, and let it cure fully before painting if the color needs a final touch-up. This is a 20-minute job for most homeowners.
2. Medium holes (1/2 to 3/4 inch). Cut a backer piece slightly larger than the hole and slide it behind the panel for support. Cut a patch from a matching scrap panel, apply vinyl adhesive or a patch kit compound around the edges, and press it into place. Tape it down while it cures, then sand the edges smooth and paint if needed.
3. Long cracks or shattered panels. Use the zip tool to unhook the panel directly above the damaged one, then remove the nails holding the cracked panel in place. Cut the replacement panel to size, leaving a small gap at each end for thermal movement. Nail it in the center of the pre-punched slots, not tight against the vinyl. Leave a small gap so the panel can expand and contract with temperature changes. Re-engage the zip tool to lock everything back into place.
4. Warping from tight nailing. If a panel looks wavy rather than cracked, the fasteners are probably driven too tight. Remove them, then re-nail through the center of the slots without pulling the panel flush against the wall. That slight looseness is intentional, and it’s what prevents future cracking when the seasons change.
Pro Tip: When a replacement panel doesn’t quite match your faded siding, pull a weathered panel from a hidden spot, like behind a bush or on a back wall, and install it on the visible side. Put the brand-new panel in the hidden location instead, where the color mismatch won’t stand out.
Color mismatch on a fresh panel often fades into the surrounding siding within a season or two of UV exposure. If you need uniform color right away, replacing a full wall elevation is usually a better call than patching six spots that will all age at different rates.
How Can You Prevent Vinyl Siding From Cracking Again?
A few minutes of maintenance twice a year catches problems before they turn into repairs.
- Walk the perimeter of your house each spring and fall, checking for hairline cracks, loose panels, or nails that have worked loose.
- Confirm nails sit in the center of their slots with slight play. Never caulk horizontal laps; they need to move independently as temperatures shift.
- Keep bushes and trees trimmed back so branches can’t rub against panels in the wind.
- Avoid leaning ladders, stacking firewood, or parking equipment against the siding.
- Keep grills, dryer vents, and other heat sources a safe distance from vinyl panels, since concentrated heat warps and weakens them over time.
- If several panels on one wall are aging or fading unevenly, plan for a sectional replacement rather than patching each one separately.
Gutters matter here too. A clogged gutter that overflows onto siding accelerates staining and can trap moisture against panels that already have hairline damage, so clean them out along with your seasonal siding check.
What a Contractor Actually Checks Before Approving a Repair
Certain signs mean it’s time to stop patching and call someone. Visible sheathing rot, mold behind a panel, multiple failing panels on the same wall, or damaged flashing and trim all point to problems beyond a caulk gun.
A thorough inspection goes past the crack itself: contractors check the housewrap and sheathing condition, sample a few adjacent panels for hidden cracking, and use a moisture meter when rot is suspected. A credible repair estimate spells out the scope (patch versus full replacement), the materials being used, a realistic timeline, and what warranty backs the work. If an estimate skips any of those four items, ask why before you sign anything.
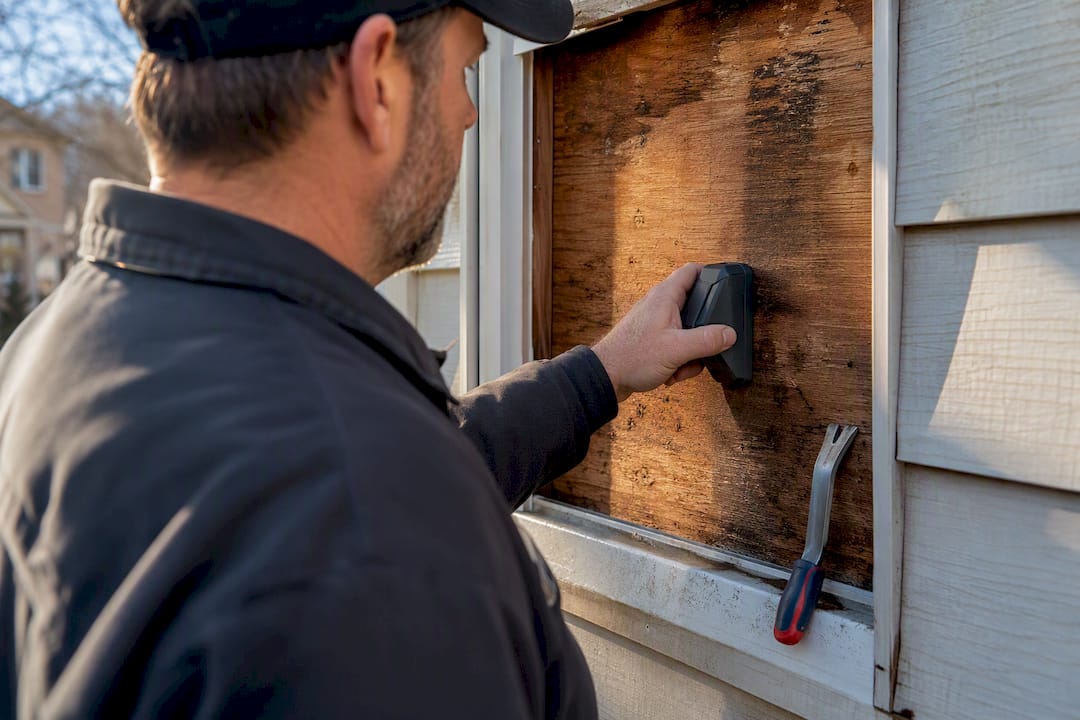
Get a Straight Answer on Your Siding Damage
A professional contractor offers what a caulk tube and a Saturday afternoon can’t: a trained eye that catches hidden rot before it spreads and a warranty that backs the work once it’s done. If a crack has been sitting on your siding for more than a season, or you’re not sure whether it’s cosmetic or structural, a professional look settles the question fast instead of guessing your way through a repair twice.

A family-owned contractor serving homeowners across Connecticut with over 30 years of experience handles siding inspections, moisture assessment, and panel repair or replacement with a clear, upfront estimate before any work starts. The contractor is fully licensed and insured, and will provide honest advice about when a patch will hold and when a section needs replacing rather than upselling unnecessary work. If you’re weighing other exterior projects at the same time, our siding services page covers repair, replacement, and full material upgrades side by side. Schedule a free inspection and get a written estimate before your next storm season arrives.
— Adam
Where to Learn More About Vinyl Siding Repair
- DAP’s repair guide walks through patching small and medium holes with specific product steps.
- This Old House covers zip tool technique and full panel replacement in detail.
- InspectAPedia documents common installation defects that lead to recurring cracks.
- If you’re weighing siding against other exterior materials for a future project, this comparison of vinyl fencing alternatives is a useful reference point.
Sources
- How to Repair Vinyl Siding Without Replacing Panels – DAP
- Repairing Vinyl Siding – This Old House
- How to Repair Vinyl Siding: Cracks, Holes, and Warped Panels (2026)
- Repairing siding on house – Lowe’s
FAQ
How Many Years Should Vinyl Siding Last?
Quality vinyl siding typically lasts about 20 years, though sun exposure, climate, and installation quality all affect how soon panels become brittle enough to crack.
Does Homeowners Insurance Cover Cracked Siding?
Coverage depends on the cause. Storm or impact damage is usually covered, while cracking from age, UV wear, or poor installation typically falls outside standard policies as normal wear and tear.
Can You Replace Just One Piece of Vinyl Siding?
Yes. A zip tool lets you unhook the panel above the damaged piece, remove the cracked section, and install a single replacement panel without disturbing the rest of the wall.
How Much Does It Cost to Replace One Piece of Vinyl Siding?
A single-panel DIY repair mainly costs the price of a replacement panel and basic tools, while hiring a professional for one panel typically runs higher once labor and a service call are factored in.