Stopping ice dams comes down to one thing: keep the entire roof deck cold and uniform, not just the eaves. Air-seal the ceiling plane, add enough attic insulation, and balance soffit-to-ridge ventilation, and the melt-refreeze cycle that causes ice dams stops at the source. In the meantime, a roof rake and calcium chloride socks buy you a few days. Heat cables help in a pinch, but they run on electricity and fix nothing.
TL;DR:
- Properly sealing air leaks in the attic and achieving balanced soffit-to-ridge ventilation are essential to prevent ice dams long-term.
- Short-term fixes include raking snow, deploying calcium chloride socks, and using heat cables as temporary measures until permanent repairs are made.
- Upgrading roof protections, such as extending ice-and-water shields and improving flashing details, reduces the likelihood of future ice dam damage.
- Hiring a professional is recommended when ice dams persist, water leaks occur, or complex roof features are involved, with diagnostics like infrared scans being valuable.
- Insurance may cover water damage from ice dams, but homeowners should verify their policies and document damage before repair efforts begin.
Table of Contents
- What Is an Ice Dam and Why It Damages Your Roof?
- Why Do Ice Dams Form in the First Place?
- Short-Term Fixes You Can Do Safely This Winter
- The Permanent Fix: Seal, Insulate, Then Ventilate
- Roof Details That Reduce Ice Dam Risk Long-Term
- When Should You Call a Roofing Professional?
- What to Do About Damage and Insurance Claims
- A Contractor’s Honest Take on Ice Dam Myths
- How Jsignorexteriors Handles Ice Dam Prevention in Connecticut
- Sources
What Is an Ice Dam and Why It Damages Your Roof?
An ice dam forms when snow melts on a warm section of your roof, runs down to the cold overhang above the eaves, and refreezes into a ridge of ice. That ridge blocks drainage, so meltwater pools behind it and works its way under your shingles instead of off the edge.
Watch for these warning signs before the damage spreads inside:
- Thick bands of ice along the eaves, sometimes several inches deep
- Icicles hanging in unusually heavy clusters off the gutter line
- Water stains or peeling paint on interior ceilings near exterior walls
- A musty smell in the attic, often the first sign of trapped moisture
Left alone, ice dams tear at shingles and underlayment, pull gutters loose from their fasteners, and drive water into insulation and drywall. Once moisture sits in an attic long enough, mold follows, and that turns a roofing problem into a remediation project.
Why Do Ice Dams Form in the First Place?
Ice dams are a heat problem before they’re ever an ice problem. Warm air escapes from your living space into the attic, raises the temperature of the roof deck above freezing, and melts the snow sitting on it. That water travels downhill until it hits the unheated overhang, where it freezes again.
The heat usually escapes through a handful of predictable weak points:
- Recessed lighting fixtures that aren’t rated for insulation contact
- HVAC ducts and bathroom exhaust fans routed through the attic
- Gaps around chimneys, plumbing stacks, and attic access hatches
- Uninsulated top plates where interior walls meet the attic floor
Insulation thickness matters just as much as sealing those gaps. Building science guidance sets A minimum insulation level is recommended for attic floors in cold climates for attic floors in most cold climates, with R-49 to R-60 recommended where winters run harsher and snow loads stay heavy for months.
Ventilation only works if it’s balanced. Intake air at the soffits has to roughly match exhaust air at the ridge, and the Department of Energy recommends keeping that ratio close to even while using soffit baffles to stop blown-in insulation from choking off the intake vents. Add ventilation without fixing air leaks first, though, and you can actually make things worse by pulling more warm, moist air up into the attic.
Short-Term Fixes You Can Do Safely This Winter
None of these are permanent solutions, but they buy time while snow is falling and a full attic retrofit isn’t happening this week.
- Rake the lower 3 to 4 feet of roof. Use a roof rake from the ground, pull snow straight down toward you, and stop well short of the shingles so you’re not scraping granules loose in the process.
- Deploy calcium chloride socks. Fill old nylon stockings with calcium chloride, then lay them perpendicular across the ice dam so they melt a channel straight through it. Expect over a period of hours to days for the channel to open up, and skip rock salt or magnesium chloride, since both can corrode flashing and kill nearby landscaping.
- Consider heat cables only as a stopgap. They melt a path through existing ice, but they run on household electricity around the clock and do nothing to address the attic heat loss causing the dam in the first place.
- If water is actively leaking inside, point a box fan at the trouble spot in the attic. Cooling that section of roof deck can slow the leak enough to get you through the night until a proper repair gets scheduled.
Pro Tip: Keep two or three calcium chloride socks pre-filled and stored in the garage before the first snowfall. Scrambling to find stockings and chloride during an active leak wastes the hours you need most.
The Permanent Fix: Seal, Insulate, Then Ventilate
Do these three things in this order, or the later steps won’t hold. Air sealing the ceiling plane before adding insulation matters because insulation slows heat transfer, but it doesn’t stop air from moving through a gap. Seal first, then the insulation actually does its job.
Step one: air seal the ceiling plane.
- Install a rigid, weatherstripped cover over the attic access hatch
- Seal around every duct, wire, and plumbing penetration with spray foam or mastic
- Swap out old recessed lights for IC-rated, airtight fixtures
- Caulk or foam the top plates where interior partition walls meet the attic floor
Step two: bring insulation up to target.
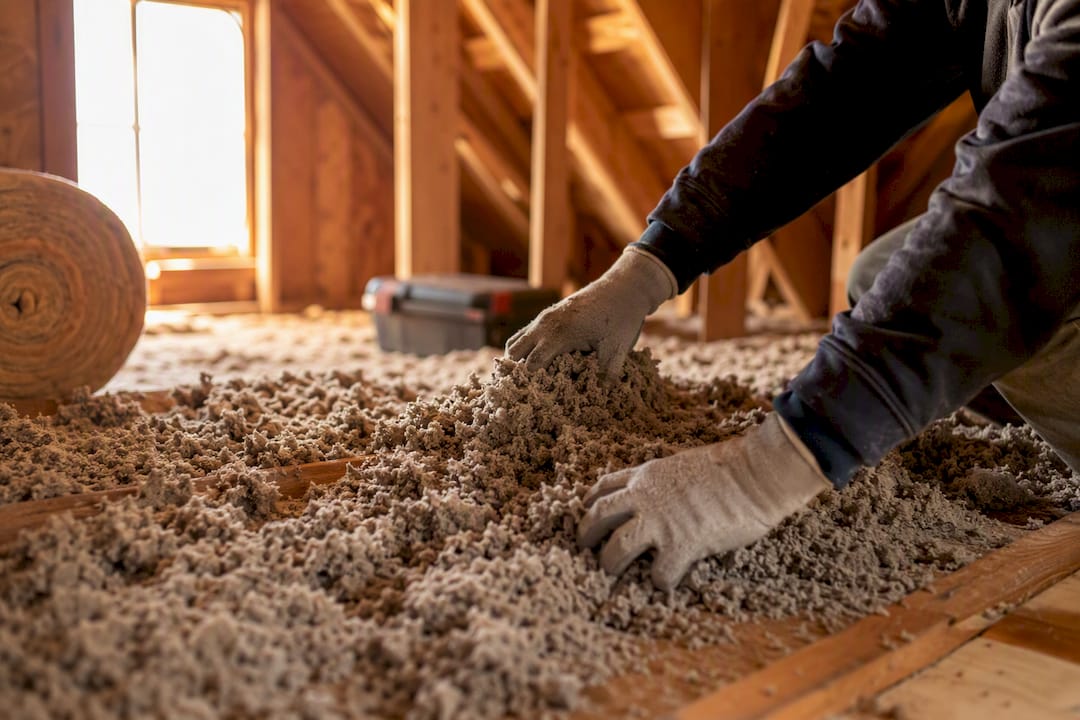
Blown-in cellulose or fiberglass works well for open attic floors and is usually the more affordable route to hit higher insulation levels such as recommended in cold climates. Rigid foam board earns its cost in tighter spaces, like over exposed rafters in a finished attic ceiling, where loose fill isn’t practical. Homes with cathedral ceilings or low-slope roofs sometimes need raised-heel trusses during a reroof to create enough depth for full insulation without choking off airflow at the eaves.
Step three: verify and balance the ventilation.
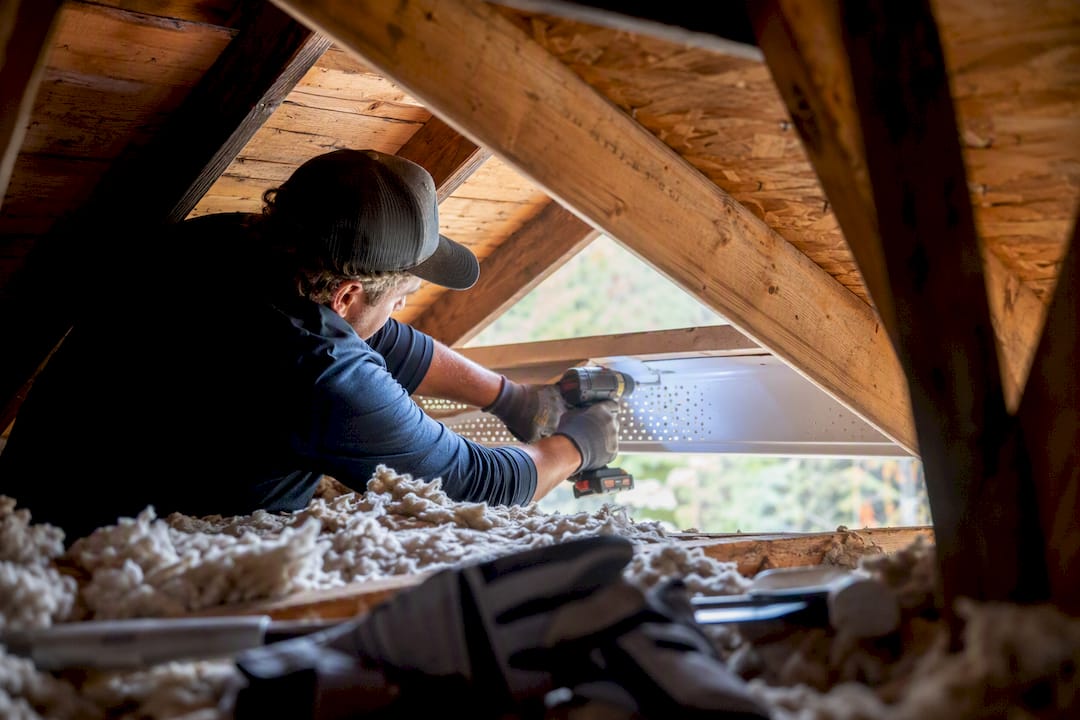
Install soffit baffles at every intake vent so insulation can’t slump over and block airflow, then confirm the ridge vent runs continuously along the peak rather than in short, disconnected sections. Aim for close to a 1:1 ratio of intake to exhaust. The most common failure here isn’t a design flaw. It’s soffit vents that become blocked by insulation over time and nobody noticed.
Pro Tip: If your attic has visible frost on the underside of the roof sheathing on a cold morning, that’s warm, moist air finding its way up from below. Fix the air sealing before you touch the insulation level.
Roof Details That Reduce Ice Dam Risk Long-Term
Some construction choices matter as much as attic work, particularly if you’re already planning a reroof.
- Ice-and-water shield should extend from the eave edge to at least 24 inches past the interior wall line, and further in heavy-snow regions, so any water that does back up hits a sealed membrane instead of exposed decking.
- Valleys and dormers need extra flashing detail since they trap snow and create their own micro dams; some homeowners opt for metal panels along the lower eaves in these zones for added protection.
- Compact, unvented roof assemblies (common in finished cathedral ceilings) require rigid foam above or below the deck, or a vented over-roof, since there’s no attic airspace to rely on. In heavy snow regions, a 2-inch vent channel under the sheathing often outperforms a code-minimum 1-inch gap.
- Timing matters. Adding ice-and-water shield and proper flashing during a scheduled reroof costs far less than retrofitting it later, since the labor to remove and replace shingles is already part of the job.
Flashing quality around chimneys, skylights, and valleys plays a bigger role in ice dam resistance than most homeowners realize. Understanding how flashing works helps you ask the right questions before a reroof.
When Should You Call a Roofing Professional?
Call a contractor when the problem keeps coming back despite your own efforts, or when the roof or attic has complications you can’t diagnose from a ladder.
Watch for these red flags:
- Ice dams have formed in the same spot for more than one winter in a row
- Water is actively leaking into a ceiling or wall cavity
- HVAC ducts, bath fans, or a furnace run through the attic space
- The roof has multiple valleys, dormers, or a complex, multi-plane layout
A qualified contractor should offer diagnostics, not guesswork. Ask for a blower-door test to quantify air leakage, an infrared scan to pinpoint exactly where heat is escaping through the roof deck, and a duct-leak test if ductwork runs through the attic. Reputable crews typically stage the work in the same order outlined above: air sealing first, insulation next, ventilation and roof protections last. Before signing anything, confirm permits are pulled where required, ask for references from similar attic projects, and get the warranty terms in writing. A contractor who also handles duct sealing, since leaky attic ductwork is a frequent contributor to ice dams, is worth asking about; duct sealing guidance from HVAC specialists covers the mechanics well if you want to understand what’s involved before that conversation.
What to Do About Damage and Insurance Claims
Homeowners’ policies often cover the water damage an ice dam causes, but many exclude the cost of fixing the attic heat loss that caused it. Check your policy language and call your carrier before starting repairs, not after.
- Photograph every affected area, inside and out, before you touch anything
- Dry out wet insulation and drywall promptly to limit mold growth
- Save every receipt for emergency mitigation work
- Hold off on cosmetic repairs until the area is fully dry and inspected
If the damage is limited to soaked drywall or flooring, call a restoration company first. If shingles or flashing are compromised, that’s a roofing call. If the root cause is attic heat loss, you’ll eventually need someone who handles both.
A Contractor’s Honest Take on Ice Dam Myths
The biggest misconception homeowners have is that heat cables or a bigger ridge vent will solve the problem. Neither one touches the actual cause. In more than three decades of exterior work across Connecticut, the pattern is consistent: houses with chronic ice dams almost always have an attic bypass problem first and a ventilation problem second, never the reverse. Seal the leaks, hit your insulation target, then check the vents. Before every snow season, walk the attic with a flashlight looking for frost on the sheathing, confirm the soffit vents aren’t buried under insulation, and check that the attic hatch still seals tight. If you see repeat ice buildup in the same spot two winters running, that’s the signal to stop patching and call for a proper diagnostic.
— Adam
How Jsignorexteriors Handles Ice Dam Prevention in Connecticut
Jsignorexteriors gives Connecticut homeowners a single point of contact for the whole fix instead of piecing together separate insulation, ventilation, and roofing contractors on your own. Our crews handle the diagnostic work, the attic sealing, and the roof-side protections as one coordinated job, so you’re not stuck guessing whether your insulation contractor and your roofer are working from the same plan.

An inspection typically starts with a walk-through of the attic and roofline to spot the leak points and insulation gaps causing your specific ice dam pattern, followed by a phased plan: air sealing and insulation work first, then ventilation corrections and any roof-deck protections like ice-and-water shield if you’re due for a reroof. If your current roof is already showing wear from past ice dams, it’s worth having that assessed alongside the attic work. Visit our roofing contractor page to schedule an inspection and get a phased plan built around your home’s specific attic and roof geometry.
Sources
- How to prevent and remove ice dams | Travelers
- How to prevent ice dams from damaging your home – Consumer Reports
- BSI-046: Dam Ice Dam | Building Science Corporation