Yes. A code-compliant water-resistive barrier belongs behind almost every type of siding because it stops bulk water at the sheathing while letting the wall assembly dry to the outside. The IRC requires a WRB behind exterior cladding in nearly all cases, and it has to go on shingle-fashion, lapped like roof shingles, so gravity carries water down and out instead of behind the seams.
TL;DR:
- Proper installation of water-resistive barriers requires shingle-style laps, sealed seams, and inspection of all fasteners and penetrations before siding is applied.
- The choice of WRB depends on siding type and climate, with synthetic housewrap favored for durability and permeability, while felt or membranes suit specific exteriors like stucco or masonry.
- Reversing laps or unsealed seams are the most common mistakes leading to hidden wall rot, which can often be detected early through visual inspection and careful walk-throughs.
- Using housewrap over existing siding is generally inappropriate; it must be installed directly against sheathing after removing old cladding for proper water management.
Table of Contents
- Why House Wrap for Siding Matters (And What the Code Actually Requires)
- Choosing the Right WRB for Your Siding and Climate
- Installing House Wrap Under Siding: The Sequence That Actually Prevents Leaks
- What Goes Wrong With House Wrap (And How to Catch It Early)
- When Standard House Wrap Isn’t the Right Fit
- Jsignorexteriors’ Field Perspective: How Experienced Crews Cut Down on Callbacks
- Codes and Guides Worth Bookmarking
- Sources
- FAQ
Why House Wrap for Siding Matters (And What the Code Actually Requires)
A water-resistive barrier, or WRB, is the layer between your sheathing and your siding that blocks liquid water while letting water vapor pass through. That distinction trips up a lot of homeowners. A WRB is not the same thing as a vapor barrier. Polyethylene sheeting, the plastic often confused with house wrap, blocks vapor in both directions, and on the wrong wall assembly that traps moisture inside the sheathing where it rots framing from behind. House wrap is vapor-permeable by design, which is exactly why it’s the standard choice behind vinyl, fiber cement, wood, and most masonry veneer siding.
The International Residential Code governs exterior wall coverings and spells out when a WRB is required and how it has to perform. Product compliance typically gets verified against ASTM E2556, the standard that tests a WRB’s water resistance, vapor permeance, and tear strength.
When an inspector or a contractor checks a wrapped wall before siding goes on, they’re looking for a handful of specific things:
- Laps running shingle-fashion, upper courses over lower courses, never reversed
- No visible tears, punctures, or fastener blowouts left unpatched
- Seams taped or otherwise sealed per the manufacturer’s instructions
- Legible product markings confirming it meets code and ASTM standards
Skip any one of those checks and you’ve got a wall that looks finished but isn’t protected.
Choosing the Right WRB for Your Siding and Climate
Not every WRB behaves the same way, and the differences matter more than most product labels let on. Housewrap (the spun-bonded synthetic kind) dominates new construction because it’s tough, lightweight, and consistently permeable. Asphalt felt, still code-approved in most jurisdictions, has been around for a century and remains common under stucco and masonry veneer, though it tears more easily than synthetic housewrap and has different permeance behavior depending on grade. Self-adhering membranes and taped rigid foam sheathing round out the field, each trading installation speed for a different level of built-in drainage or air sealing.
Siding type should drive the decision more than brand loyalty:
- Vinyl siding generally performs fine with standard housewrap since the panels themselves shed water and ventilate behind their own profile.
- Fiber cement and wood siding often need a drainage-capable WRB or a physical rainscreen gap, because these materials hold moisture against the wall longer.
- Masonry veneer and stucco frequently call for felt or a self-adhering membrane rated for direct contact with wet-applied materials.
A quick note on permeance: a breathable Type II WRB dries faster in humid or mixed climates, while a lower-perm Type I product can make sense in colder assemblies with a well-sealed interior vapor retarder. Whatever you choose, confirm it carries ASTM E2556 certification, check the tear strength rating on the roll label, and follow the manufacturer’s fastening and lap instructions exactly. Instructions vary more between brands than you’d expect.
Installing House Wrap Under Siding: The Sequence That Actually Prevents Leaks
Getting the material on the wall is the easy part. Getting the sequence right, so water always has a path down and out, is where most failures start.
- Start at the bottom and work up. Roll out the first course along the bottom of the wall, then lap each subsequent course over the one below by a minimum of a code-required lap on horizontal and vertical seams and at corners.
- Flash the rough openings before the wrap goes over them. Sill flashing goes in first, then jamb flashing, then the WRB gets cut and folded into the opening, then head flashing goes on last, with the wrap’s upper flap lapping down over the head flashing.
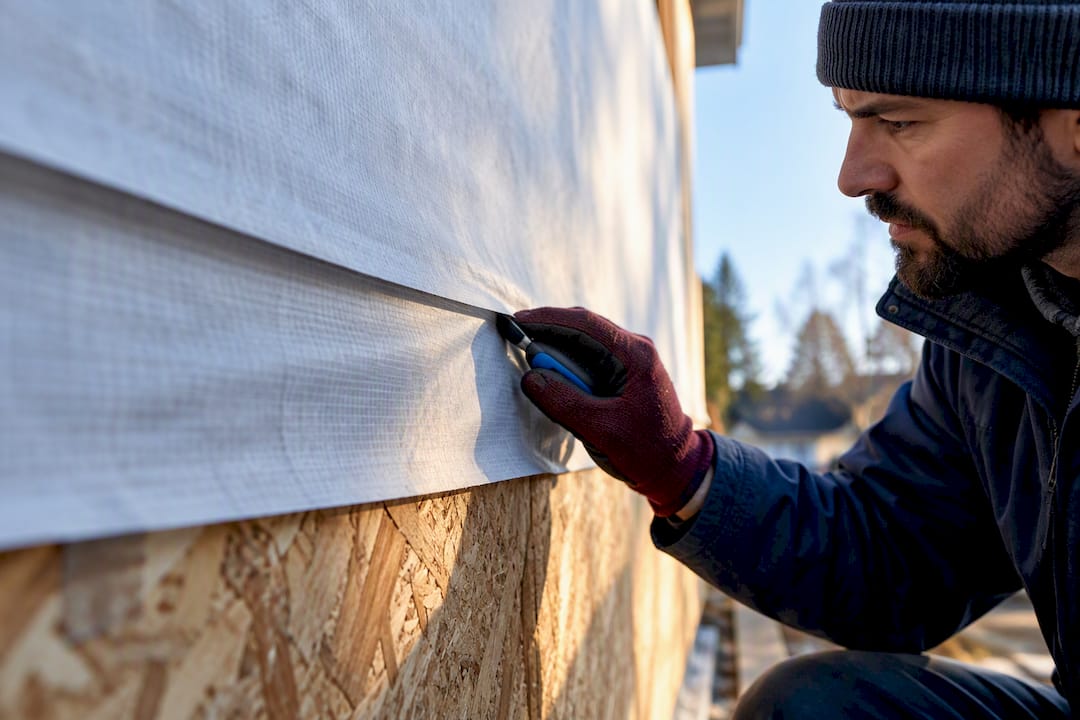
- Tape every horizontal and vertical seam with the manufacturer-specified tape, and patch any tear immediately rather than waiting for siding to cover it up.
- Seal penetrations individually. Hose bibs, electrical boxes, and vent pipes each need their own flashing or sealant detail integrated into the WRB, not just a bead of caulk slapped over the hole.
- Add a rainscreen gap where the siding calls for one. A drainage gap of 1/16 to 1/8 inch provides basic capillary break drainage, while 3/4 to 1 inch creates a ventilated cavity that dries wood and fiber cement siding far faster.
Building-science guidance is blunt on this point: flashing and WRB have to function as one integrated system, with every detail directed by gravity. Reverse-lapped flashing, where water runs behind a seam instead of over it, is one of the most common causes of hidden wall rot.
Pro Tip: Before the siding crew shows up, walk the wrapped walls yourself with a flashlight at a low angle. Shadows reveal wrinkles, unsealed seams, and fastener overdrive that are nearly invisible in flat daylight.
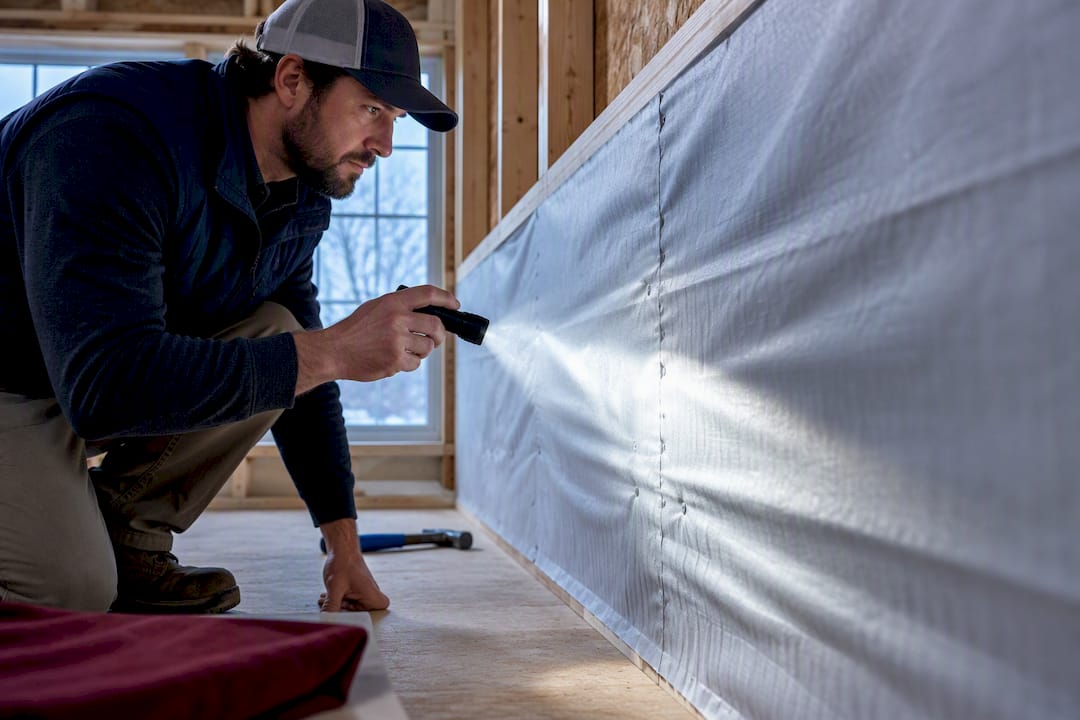
A final verification pass should confirm every lap direction, every taped seam, and every flashing integration point before the first piece of siding goes up. Once cladding covers the wrap, fixing a mistake means tearing off finished work.
What Goes Wrong With House Wrap (And How to Catch It Early)
Most WRB failures trace back to a small set of repeat offenders, and nearly all of them are avoidable with a careful install.
- Reverse-lapped seams or flashing send water behind the barrier instead of over it, which is the single most common cause of hidden sheathing rot behind newer siding.
- Surfactant contamination happens when wood siding sits directly against housewrap; extractives in the wood can degrade the wrap’s water-repellent coating over time, and a rainscreen gap prevents that direct contact.
- Staple-only installations with no taped seams leave gaps that undermine the WRB’s function as part of a continuous air barrier, letting conditioned air leak through the wall assembly.
- Unpatched tears or missed penetrations create direct water paths that don’t show up until siding is already covering them.
If your siding is already up and you suspect a problem, look for staining, bubbling paint, or soft spots near window heads and bottom courses first. For a full checklist on catching these issues before they become structural, these installation mistakes are worth reviewing before you call anyone out for a quote.
When Standard House Wrap Isn’t the Right Fit
Housewrap is the default for good reason, but it’s not the only code-approved answer. Felt paper still works well under stucco and masonry veneer, where direct contact with wet-applied materials calls for a product rated for that exposure. Self-adhering membranes make sense in high-exposure locations, roof-to-wall transitions, and anywhere flashing integration is especially tricky.
Taped rigid foam sheathing is another route. It replaces housewrap entirely by using taped seams on the foam itself as the drainage plane, but it demands precise installer skill since a poorly taped foam seam fails the same way a poorly lapped housewrap seam does. Before settling on any alternative, check what your local building department expects and what the siding manufacturer’s warranty requires. Warranty language sometimes specifies an approved WRB category by name, and using something else can void coverage even if the code technically allows it.
Jsignorexteriors’ Field Perspective: How Experienced Crews Cut Down on Callbacks
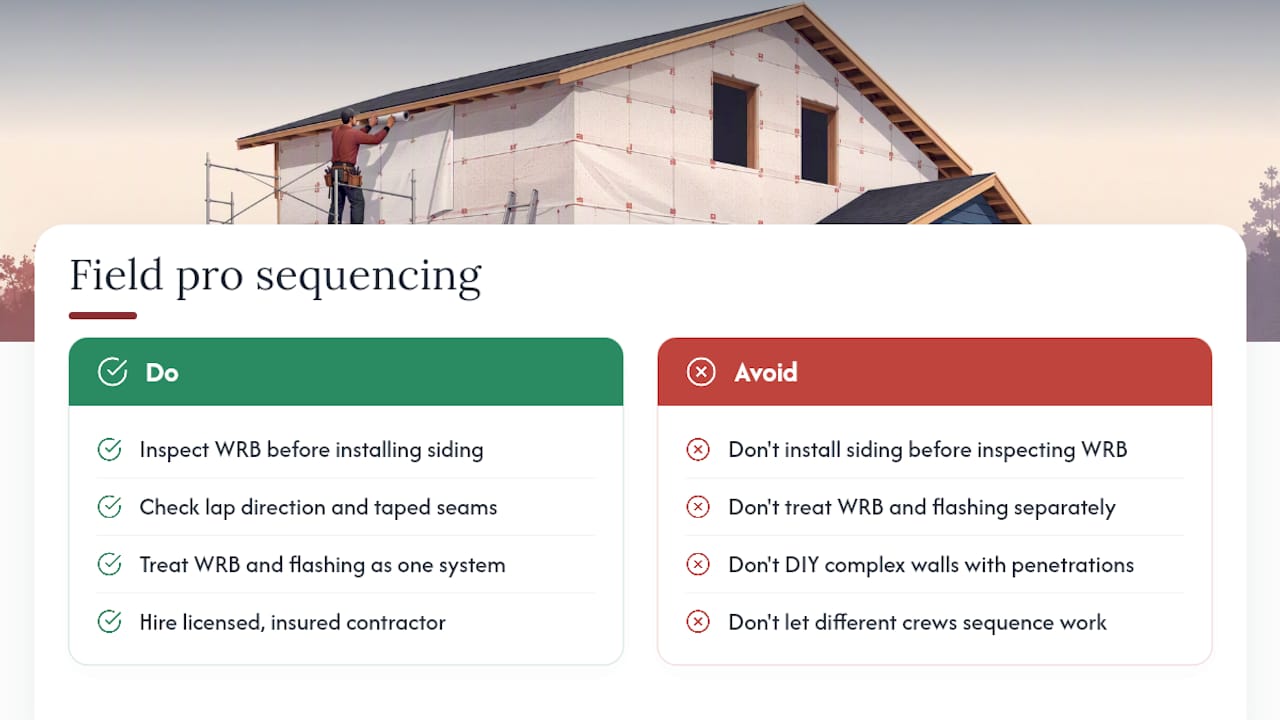
Adam has watched enough re-siding jobs go sideways to know that most WRB failures aren’t material failures. They’re sequencing failures. A crew with more than 30 years of combined field experience learns to inspect the wrap before a single piece of siding goes up, checking lap direction, taped seams, and flashing integration as a single system rather than three separate steps done by three different guys on three different days.
That habit is what keeps callbacks rare. A licensed, insured contractor who treats the WRB and flashing sequence as inseparable is doing the quiet work that prevents the five-year-later rot nobody sees coming. DIY installation can work fine on a simple gable wall with no penetrations, but once windows, dormers, and multiple siding transitions enter the picture, the margin for a reversed lap gets a lot smaller. If your project involves that kind of complexity, Jsignorexteriors’ siding services are built around exactly this kind of sequencing discipline, and the same attention applies across the full range of exterior services the company handles for Connecticut homeowners.
— Adam
Codes and Guides Worth Bookmarking
Keep these on hand for contractor conversations or DIY reference: the IRC’s exterior wall covering chapter, BASC’s drainage plane resource guide, and practical flashing integration guidance from building-science practitioners. For a broader look at how siding material choice interacts with these requirements, this guide to exterior siding materials and this overview of common door and window installation pitfalls both cover adjacent quality-control ground.
Sources
- Is housewrap required by code? — Benjamin Obdyke
- Drainage plane behind exterior wall cladding — BASC / PNNL
- Importance of integrating flashing and WRB — Applied Building Tech
- International Residential Code (TOC) — ICC
FAQ
Do You Need House Wrap Under Siding?
Yes, in nearly every case. The IRC requires a water-resistive barrier behind exterior cladding because it blocks bulk water while letting the wall dry, and skipping it risks hidden sheathing rot even when the siding looks fine from the street.
What’s the Difference Between Tyvek and Housewrap?
Tyvek is a specific brand of spun-bonded polyethylene housewrap; “housewrap” is the general category of synthetic WRB products it belongs to. Functionally, most synthetic housewrap brands share the same core job: blocking liquid water while remaining vapor-permeable so the wall assembly can dry.
What Are the Disadvantages of House Wrap?
Housewrap alone isn’t a complete air barrier unless every seam is taped and every penetration is sealed, since staples and unsealed laps leave gaps that undermine its performance as part of a continuous air barrier system. It can also suffer surfactant contamination from wood siding installed without a rainscreen gap, and it tears if handled roughly on site.
Can I Install House Wrap Over Existing Siding?
Generally no. House wrap is meant to sit directly against the sheathing, underneath the siding, not layered over an existing exterior finish. A full re-siding project that includes proper home preparation typically means removing the old cladding first so the WRB and flashing can be installed correctly against the sheathing itself.