Paint adhesion on siding is the strength of the bond between a cured paint film and the underlying substrate, and it determines whether your paint job lasts two years or a decade. The single highest-value action you can take is to prepare the surface thoroughly and choose a primer matched to your specific siding material. Skip that step, and even a premium topcoat will peel, flake, or blister within a season or two. If the work feels beyond your comfort level, a licensed exterior contractor can assess the surface and handle every step correctly.
Table of Contents
- What paint adhesion actually means for your siding
- How to spot poor adhesion on your siding
- Why good adhesion matters beyond how it looks
- How mechanical and chemical bonding work together
- The most common reasons paint won’t stick to siding
- What to do for each major siding material
- Step-by-step surface prep and painting checklist
- How to fix adhesion failures and when to call a pro
- Simple tests to check adhesion readiness
- What to expect for timing and cost
- Key Takeaways
- Why adhesion is the part most homeowners underestimate
- How Jsignorexteriors approaches siding prep and painting in Connecticut
- Useful sources and further reading
What paint adhesion actually means for your siding
At its core, paint adhesion is about how firmly the cured paint film grips the surface beneath it. A well-bonded coat resists scraping, weathering, and moisture. A poorly bonded coat lifts at the edges, blisters in the sun, and eventually falls away in sheets.
Four factors determine how strong that bond will be:
- Surface energy: High-energy surfaces (bare wood, fiber cement) accept paint readily. Low-energy surfaces (vinyl, many plastics) resist wetting and need specialized primers.
- Wetting: Paint must flow into and cover every microscopic feature of the surface before it cures. Contamination prevents this.
- Mechanical keying: Paint locks into tiny surface irregularities, like a key fitting a lock. Sanding creates those irregularities where they don’t exist naturally.
- Primer chemistry: A primer is engineered to bond to the substrate on one side and to the topcoat on the other, bridging surface-chemistry mismatches.
It helps to distinguish two failure modes that homeowners often confuse:
Peeling is an adhesion failure — the paint film has lost its grip on the substrate. Chalking is a surface oxidation issue where the binder in old paint breaks down into a powdery residue. Both look like deterioration, but chalking requires a different fix: cleaning and a bonding primer, not just a fresh topcoat over the powder.
How to spot poor adhesion on your siding
Adhesion problems rarely appear all at once. They usually start small and spread, so catching them early saves significant repair work.
Visual inspection
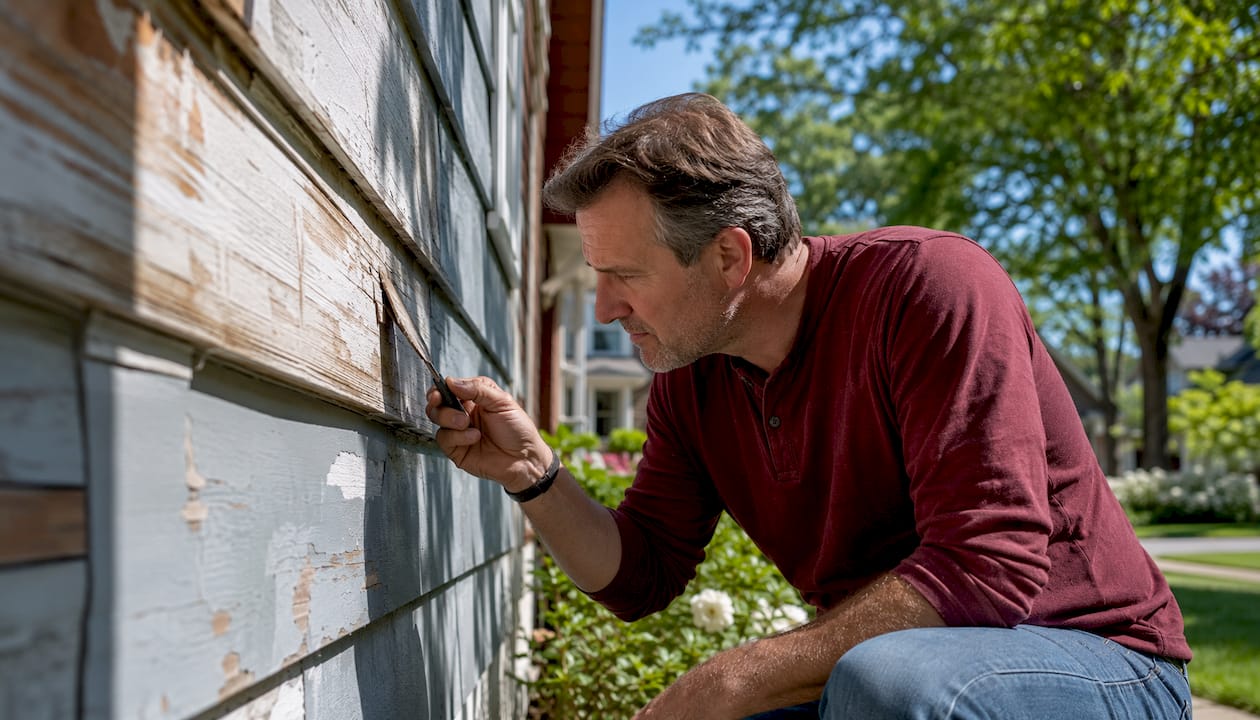
Walk the perimeter of your home in good daylight and look for paint that is lifting at the edges, curling away from the surface, or forming bubbles. Peeling that starts at the seams or end grain of wood boards almost always points to moisture getting behind the paint film. Large-area delamination, where whole sections of paint separate from the substrate, signals a more serious prep failure or an incompatible coating system.
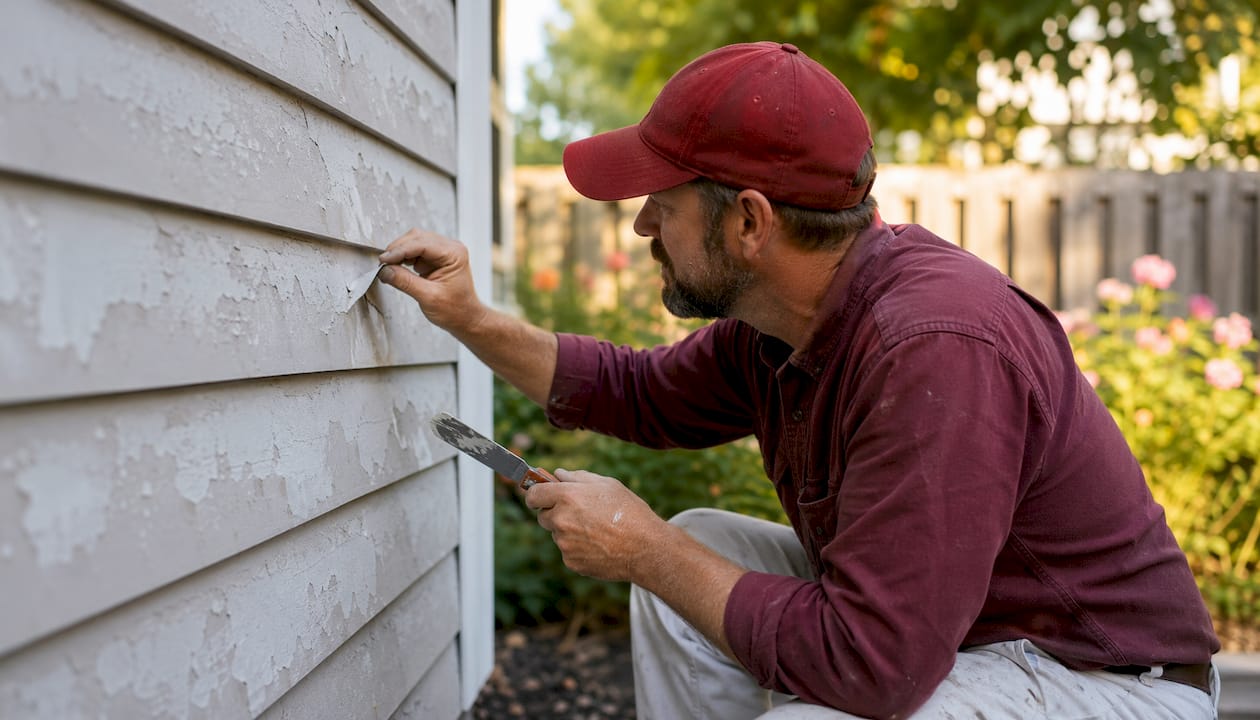
Touch test
Run your hand across the siding. If a chalky white or gray powder transfers to your palm, the surface has oxidized. That chalk layer will prevent any new paint from bonding unless it is removed first. Aluminum siding is especially prone to this, but older painted wood and fiber cement can chalk too.
Localized tape test
Press a strip of strong tape (2-inch painter’s tape or standard packing tape) firmly against a section of siding, smooth it down, then snap it off quickly. If paint or primer lifts with the tape, the existing coating is not sound enough to paint over. A clean pull means the surface is holding.
Pro Tip: Run the tape test in at least three spots: a sunny south-facing wall, a shaded north-facing wall, and near a downspout or ground-level area where moisture tends to concentrate. Adhesion quality often varies significantly across the same house.
Why good adhesion matters beyond how it looks
A paint job that bonds correctly does more than look fresh. It acts as a continuous weather barrier, keeping liquid water and vapor from reaching the substrate beneath.
- Longevity: Properly bonded coatings last significantly longer than coatings applied over contaminated or unprepared surfaces, reducing how often you repaint.
- Water intrusion prevention: Once paint lifts, water gets behind the film and accelerates wood rot, rust on metal substrates, and mold growth inside wall cavities.
- Reduced maintenance cycles: Correct prep and primer selection up front means fewer spot repairs, touch-ups, and emergency recoats over the life of the siding.
- Early warning system: Adhesion failures can reveal underlying problems. Persistent peeling in one area despite repeated repaints often points to a moisture source, a failed caulk joint, or improper flashing rather than a paint problem.
As professionals in the field consistently note, paint failures are often prep failures wearing a paint costume. Even a premium topcoat will fail if contaminants, chalk, or active organic growth are not removed and if edges and end grain are left unsealed.
How mechanical and chemical bonding work together
Adhesion is a dual process, and understanding both sides explains why each prep step actually matters.
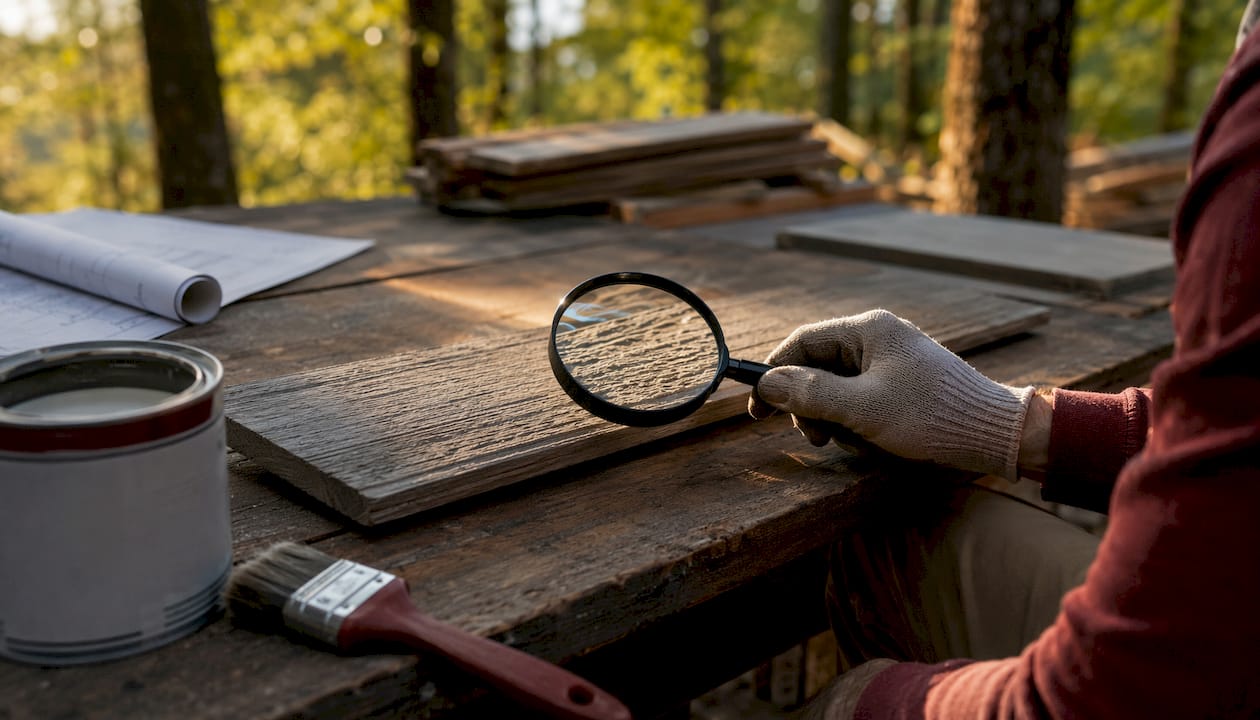
Mechanical adhesion works by wetting and keying. When paint flows onto a surface, it fills microscopic pits and irregularities. As it cures, it locks into those features the way a cast fills a mold. Sanding or abrading a surface before painting creates more of those features, which is why a lightly scuffed surface holds paint better than a smooth, glossy one. Both mechanical and chemical adhesion are required for a durable bond, and primers are specifically engineered to deliver both.
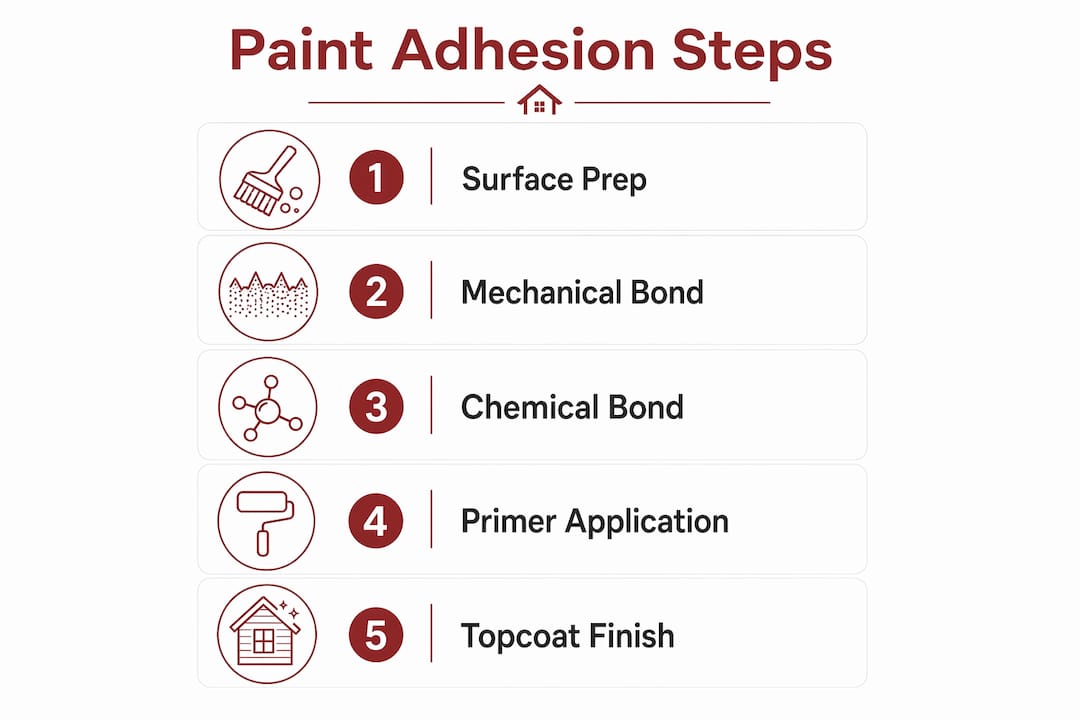
Chemical adhesion operates at the molecular level. Primers contain resins that form actual chemical bonds with the substrate on one side and with the topcoat on the other. Think of it as Velcro plus glue: the mechanical keying is the Velcro, and the primer chemistry is the glue. On surfaces where the topcoat and substrate have very different surface energies (vinyl is the clearest example), chemical bridging is what makes the whole system hold.
Pro Tip: On any surface where you’re unsure whether the existing coating is compatible with your new paint, apply a bonding primer rather than guessing. The cost of a quart of bonding primer is a fraction of the cost of stripping and repainting a failed job.
The most common reasons paint won’t stick to siding
Most adhesion failures trace back to one of these root causes:
- Surface contamination: Dirt, oil, mildew, and chalk all prevent paint from wetting the substrate properly. Even a thin film of mildew is enough to break the bond.
- Trapped moisture: Water behind the siding or inside the board itself creates vapor pressure that pushes the paint film off from the back side. This is especially common on wood siding with unsealed end grain.
- Low-surface-energy substrates: Vinyl and many plastics resist wetting, which means standard primers don’t bond reliably without an adhesion promoter or a primer formulated for low-energy surfaces.
- Oxidation on aluminum: Aluminum siding develops a chalky oxidation film over time. Painting over it without cleaning and priming is one of the most predictable ways to get a failed coat within a year.
- Tannin bleed from cedar and redwood: The natural extractives in tannin-rich species migrate through water-based primers and cause staining and adhesion loss. Oil-based stain-blocking primers stop this migration.
- Coating incompatibility: Applying latex paint directly over a chalky alkyd surface without a bonding primer is a classic mismatch. The new coat has nothing sound to grip.
What to do for each major siding material
Different siding types have genuinely different failure modes and primer requirements. The table below summarizes the key variables. For a deeper look at how these materials compare overall, the exterior siding materials guide covers selection and long-term performance in detail.
| Siding type | Prep difficulty | Primer type | Common failure modes | Ideal topcoat |
|---|---|---|---|---|
| Wood | High | Stain-blocking oil or shellac-based for tannin-rich species; acrylic bonding primer for painted wood | Tannin bleed, moisture-driven peeling, end-grain failure | 100% acrylic exterior latex |
| Vinyl | Low to moderate | Adhesion promoter or primer for low-energy plastics | Peeling from glossy surface, color fade, heat distortion | 100% acrylic exterior latex (light/medium colors only) |
| Aluminum | Moderate | Metal primer formulated for oxidized substrates | Chalking oxidation, peeling over unprimed oxidation | 100% acrylic exterior latex |
| Fiber cement / composite | Low to moderate | Exterior acrylic primer compatible with manufacturer specs | Moisture at cut edges, topcoat failure over unprimed areas | 100% acrylic exterior latex |
Wood siding demands the most prep. Scrape all loose paint, sand to feather edges, and seal every cut end and exposed knot. For cedar, redwood, or any tannin-rich species, a stain-blocking oil-based primer before the acrylic topcoat is the most reliable system to prevent bleed and adhesion failure. Back-priming, which means sealing all faces of siding boards including the back face and end grain before installation, substantially reduces moisture-driven peeling over the life of the siding.
Vinyl siding has low surface energy, so a light abrasion on glossy sections and a primer or adhesion promoter made for plastics is required for reliable bonding. Avoid dark or high-heat colors on vinyl; they can cause the material to warp.
Aluminum siding commonly develops an oxidation chalk film. Cleaning with TSP or a dedicated cleaner to remove that oxidation layer, followed by a metal primer formulated for oxidized substrates, is the correct sequence.
Fiber cement and composite siding accept paint well when properly primed, but cut edges and field-drilled holes must be sealed with an exterior primer before the topcoat goes on. Follow the manufacturer’s temperature windows; applying paint below 50°F or above 90°F on fiber cement often leads to adhesion problems.
Step-by-step surface prep and painting checklist
Use this sequence whether you’re doing the work yourself or verifying that a contractor is following correct procedure.
- Clean the surface. Wash the entire siding with a mild detergent or TSP substitute and water. A pressure washer on a low setting works well; high pressure can drive water into seams and damage wood grain.
- Remove mildew. Treat any mildewed areas with a solution of one part bleach to three parts water, scrub, and rinse thoroughly. Allow the surface to dry completely, at least 48 hours in dry weather.
- Confirm the surface is fully dry. Painting over damp siding is one of the fastest ways to guarantee adhesion failure. Use a moisture meter on wood siding; the reading should be below 15% before priming.
- Scrape and sand. Remove all loose, peeling, or flaking paint. Feather the edges of remaining paint with 80–120 grit sandpaper so there is no sharp ledge for water to get under.
- Run a chalk test. Wipe a dark cloth across the surface. Heavy chalk transfer means you need a bonding primer before any topcoat.
- Spot-prime bare areas and knots. Apply stain-blocking or oil primer to any bare wood, knots, or tannin-rich end grain before the full prime coat.
- Apply a full bonding primer coat. Cover the entire surface with a primer matched to your siding material. Allow it to cure fully per the manufacturer’s instructions.
- Caulk all joints and gaps. Use a paintable exterior caulk on seams, around windows, and at trim transitions before the topcoat goes on.
- Apply the first topcoat within two weeks of priming. Industry guidance from the USDA Forest Products Laboratory recommends applying the first topcoat within about two weeks of priming and the second coat within about two weeks of the first to maintain intercoat bonding before environmental exposure degrades the primed surface.
- Apply the second topcoat. Two coats of a 100% acrylic exterior latex provide the best combination of adhesion, flexibility, and UV resistance.
Environmental conditions matter. Paint in temperatures between 50°F and 85°F, with relative humidity below 70%. Avoid painting in direct afternoon sun on hot days; the surface temperature can be 20°F or more above the air temperature, which causes the paint to skin over before it can wet the substrate properly. For scheduling around Connecticut’s weather patterns, the exterior remodeling project checklist covers seasonal timing in detail.
Pro Tip: If your home was built before 1978, the existing paint may contain lead. Before scraping or sanding, test with an EPA-approved lead test kit. If lead is present, follow EPA Renovation, Repair, and Painting (RRP) Rule requirements, which include containment, proper PPE, and certified contractor work in many cases.
How to fix adhesion failures and when to call a pro
Not every adhesion problem requires a full strip and repaint. The right repair depends on how widespread the failure is and what’s driving it.
Localized peeling (a few boards or one wall section) usually responds well to spot-scraping, feather-sanding, spot-priming, and a careful topcoat application. The key is removing every bit of loose paint and priming bare substrate before recoating.
Widespread delamination across multiple walls, or paint that has failed through multiple previous coats, usually means the surface needs to be stripped to bare substrate. Painting over a failed system just adds another layer that will eventually fail the same way.
Persistent peeling in the same spot despite repeated repairs is a red flag. It almost always points to a moisture source: a failed caulk joint, improper flashing, a plumbing leak inside the wall, or inadequate ventilation. Repainting without fixing the moisture source is a temporary fix at best.
When the paint keeps failing, stop looking at the paint. Recurring adhesion failure in a localized area is the siding’s way of telling you there is a moisture or structural problem behind it. A professional assessment that includes probing for rot and checking flashing and caulk is the correct next step, not another coat of primer.
Call a professional when you find:
- Soft, spongy, or visibly rotted substrate beneath the peeling paint
- Moisture readings above 19% in wood siding after an extended dry period
- Paint that has failed across wide areas through multiple previous coats
- Any sign that water is entering the wall assembly rather than just sitting on the surface
For situations where the damage has gone beyond paint, siding replacement may be the more cost-effective path than repeated repairs.
Simple tests to check adhesion readiness
1. Chalk test
Wipe a dark cloth firmly across the siding surface. A light smear is normal on older paint. Heavy, powdery transfer means significant chalking is present and a bonding primer is required before any topcoat. This test takes about 30 seconds and should be done across multiple wall sections.
2. Tape pull test
Press a 6-inch strip of 2-inch painter’s tape firmly onto the siding, smooth it down with your thumb, and snap it off quickly at a 90-degree angle. If paint or primer comes with it, the existing coating is not sound. Repeat in several locations, including areas that get direct sun and areas near grade level.
3. Cross-hatch test
This is a more precise version of the tape test used by painting professionals. A utility knife or cross-hatch cutter scores a grid pattern through the paint film, tape is applied and removed, and the percentage of paint that lifts is evaluated against a standard scale. It gives a more quantitative read on adhesion strength than the simple tape pull.
4. Pull-off test (professional use)
A pull-off adhesion tester uses a dolly glued to the surface and a calibrated gauge to measure the exact force required to separate the coating from the substrate, reported in pounds per square inch. This is a tool for professional inspectors and coating applicators, not a DIY method, but the results can be useful when specifying a remediation scope on a large commercial or multi-family project.
What to expect for timing and cost
| Factor | Typical range / notes |
|---|---|
| Primer-to-first-topcoat window | Within ~2 weeks (USDA FPL guidance) |
| Between topcoats | Within ~2 weeks of first coat |
| Small repair (1–3 boards) | 1–2 days including dry time |
| Partial repaint (one elevation) | 2–4 days prep + painting |
| Full exterior repaint | 4–10 days depending on size and prep intensity |
| Prep labor intensity | Heaviest cost driver; scraping and sanding can double labor hours |
| Primer type | Stain-blocking oil primers cost more than standard acrylic; bonding primers for vinyl/aluminum add cost |
| Access and height | Multi-story homes require scaffolding or extended ladders, adding to labor cost |
| DIY vs. professional | DIY saves labor cost but requires correct material selection and timing discipline |
Cost varies widely based on siding material, the extent of prep required, and local labor rates. The prep phase, not the paint itself, is typically the largest cost driver on a job with significant adhesion issues.
Key Takeaways
Proper surface preparation and a substrate-matched primer are the two factors that determine whether a siding paint job lasts two years or more than a decade.
| Point | Details |
|---|---|
| Prep before everything | Clean, dry, and abrade the surface before any primer or paint goes on. |
| Match primer to substrate | Wood, vinyl, aluminum, and fiber cement each require a different primer chemistry for reliable adhesion. |
| Follow timing windows | Apply the first topcoat within ~2 weeks of priming; apply the second coat within ~2 weeks of the first. |
| Test before you paint | Run a chalk test and tape pull test to confirm the existing surface is sound enough to accept a new coat. |
| Jsignorexteriors for professional prep | J. Signor Exteriors handles full surface assessment, material-specific priming, and siding prep for Connecticut homeowners. |
Why adhesion is the part most homeowners underestimate
Most homeowners focus on paint color and sheen. The prep work, the scraping, the priming, the timing windows, feels like overhead before the “real” job starts. That framing is exactly backwards.
The paint film is only as durable as the surface it’s bonded to. A $60-per-gallon topcoat applied over a chalky, damp, or contaminated surface will fail faster than a mid-grade paint applied over a correctly prepared one. The chemistry is not forgiving: if the primer can’t wet the substrate, no amount of quality in the topcoat compensates.
What gets skipped most often in practice is back-priming on wood siding and sealing end grain. These are the spots where moisture enters first, and they’re out of sight once the boards are installed. Sealing every cut end and the back face of each board before installation is one of the highest-return steps in the entire process, and it costs almost nothing extra in materials.
The other underestimated factor is timing. Painting too soon after priming, or letting a primed surface sit for more than two weeks before topcoating, both compromise the bond. The two-week window from the USDA Forest Products Laboratory is not a suggestion; it reflects how quickly an exposed primed surface can degrade in outdoor conditions.
If you’re hiring a contractor, ask specifically how they handle end grain, what primer they’re using for your siding type, and what their recoat timing looks like. Those three questions will tell you more about the quality of the job than any other part of the conversation.
How Jsignorexteriors approaches siding prep and painting in Connecticut
Thirty-plus years of exterior work across Connecticut means Jsignorexteriors has seen every adhesion failure mode this climate produces: cedar siding with tannin bleed from a water-based primer, vinyl that was painted with the wrong product and bubbled within a season, aluminum with oxidation that was painted over without cleaning. The pattern is consistent: the failure was always in the prep, not the paint.

When you bring Jsignorexteriors in for a siding assessment, the process starts with a hands-on inspection: chalk tests, moisture readings on wood substrates, a check of all caulk joints and end grain, and a review of what’s currently on the surface. From there, the team recommends the correct primer system for your specific siding material and the scope of prep work required, whether that’s a light clean and prime or a full strip-to-bare on a section with persistent moisture issues.
The company is fully licensed and insured, and every project is completed with the timing discipline that adhesion requires: primer applied to a clean, dry surface, topcoat within the correct window, and a second coat before the first has had time to degrade. If the inspection reveals that repainting isn’t the right answer and replacement is, Jsignorexteriors handles that too. Get in touch for an on-site estimate and a straight answer about what your siding actually needs.
This article is general educational information, not professional advice for your specific situation. Confirm current product requirements and local regulations with a qualified contractor or the relevant manufacturer before beginning work.
Useful sources and further reading
- USDA Forest Products Laboratory — Wood Siding: Installing, Finishing, Maintaining: The primary technical reference for wood siding prep, back-priming, timing windows, and moisture management.
- US Forest Service Research and Development — Factors Affecting Paint Performance on Wood Siding: Research comparing primer systems, water repellent preservatives, and end-grain treatment across species and climates.
- Paint.org — Painted Wood Siding (FPL Research Summary): Industry summary of FPL findings on back-priming, end-grain sealing, and long-term performance.
- PMV Painting — Paint Preparation for Wood, Vinyl, and Aluminum Siding: Practical contractor guidance on mechanical vs. chemical adhesion and substrate-specific prep steps.
- Paint Pricing — Best Paint for Wood Siding: Covers primer selection for tannin-rich species and common failure modes on wood siding.
- Wikipedia — Paint Adhesion Testing: Overview of cross-hatch, tape pull, and pull-off test methods and their standard scales.
- Jsignorexteriors — Siding Services: Professional siding prep, priming, and installation services for Connecticut homeowners.
- Jsignorexteriors — Types of Exterior Siding Materials: 2026 Homeowner Guide: Material-by-material comparison covering performance, maintenance, and prep requirements.
- La Rocks Renovations — Exterior Painting Services: Partner resource covering professional exterior painting preparation standards and service expectations.