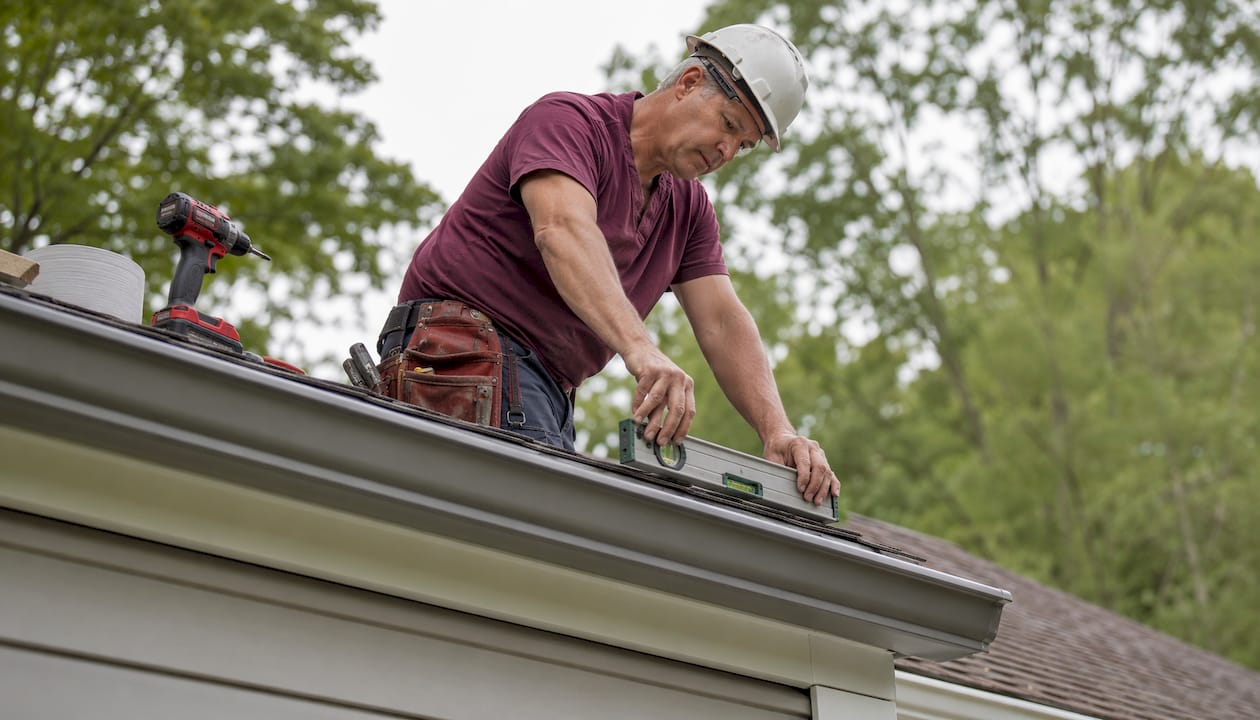
Gutter pitch is the intentional downward slope built into your gutter system so rainwater flows toward the downspout rather than sitting still in the trough. The standard pitch is a subtle downward slope that ensures water flows toward the downspout efficiently. That’s subtle enough that your gutters should look nearly parallel to the roofline from the ground, but it’s enough of an angle for gravity to do its job.
Without that slope, water pools. Pooled water is heavy, and it puts constant stress on your fascia boards and gutter hangers. Over time, that stress leads to sagging, overflow, wood rot, and eventually foundation problems. Getting the pitch right from the start, or correcting it when it drifts, is one of the most cost-effective things you can do to protect your home.
Here’s what improper gutter pitch can cause:
- Standing water that never drains between rain events
- Debris and sediment accumulating in low spots
- Mosquito breeding in stagnant water
- Fascia board decay from prolonged moisture contact
- Gutters pulling away from the house under the weight of trapped water
- Overflow that directs water against your siding, soffit, and foundation
Table of Contents
- What are the minimum slope requirements for gutters?
- How do you recognize signs of improper gutter slope?
- How to measure, fix, and adjust your gutter pitch
- What do experts say about gutter pitch and drainage?
- Common mistakes to avoid when setting gutter pitch
- Key Takeaways
What are the minimum slope requirements for gutters?
A commonly referenced baseline for residential gutters uses a gentle slope, with some installations applying a slightly steeper slope for longer runs or regions with heavier rainfall.
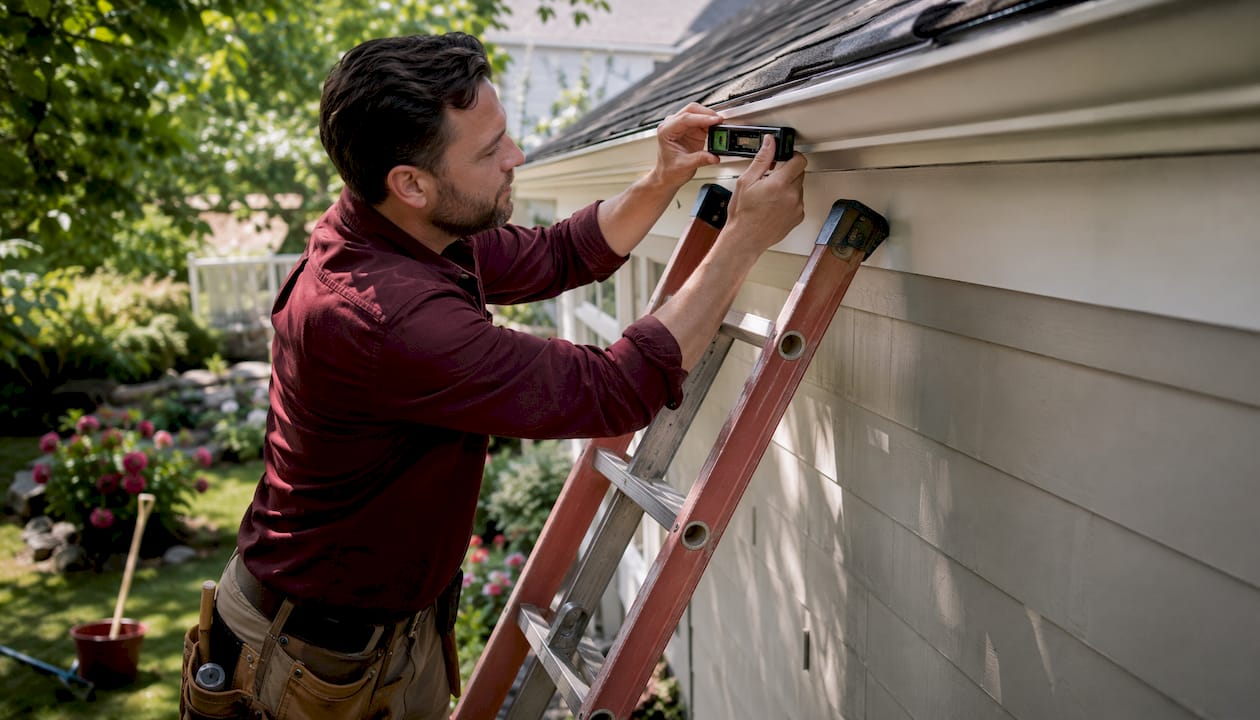
The formula for calculating gutter pitch involves multiplying the total gutter run by a target gentle drop rate appropriate for the installation length and rainfall conditions.
A few practical guidelines worth knowing:
- Pitch is always measured toward the downspout, which must be the lowest point of the run
- Long gutter runs across a wide facade often require a downspout at each end, with the high point in the middle
- Residential K-style aluminum gutters, the most common type in the U.S., typically perform well at 1/16 inch per foot, which is the standard recommended by industry authorities.
- Pitch above 1/2 inch per 10 feet is generally considered excessive and can cause its own problems
Pro Tip: Use a gutter slope calculator to verify your required drop before you touch a single hanger. Enter your run length and target pitch, and it will give you the exact drop in inches to mark at the downspout end.
How do you recognize signs of improper gutter slope?
The most obvious sign is water sitting in your gutters after a rain has passed. If you walk outside an hour after a storm and see standing water in the trough, the pitch is either too shallow or reversed. Sagging gutters and standing water indicate insufficient pitch and put ongoing strain on the fascia supports holding the system in place.
Other signs are less obvious but just as telling. Debris tends to collect in low spots where water slows down, so if you’re constantly clearing the same section of gutter, that’s a drainage angle problem, not just a cleaning issue. Mosquitoes breeding in your gutters during summer months point directly to stagnant water, which means the slope isn’t moving water out.
Gutters that overflow during moderate rain, when there’s no visible blockage, are often a pitch problem in disguise. Water moving too slowly backs up and spills over the front edge, sending it straight down against your siding and foundation rather than through the downspout.
Structural consequences build gradually. Fascia boards absorb moisture from gutters that never fully drain, and wood rot sets in quietly over months. Soffit damage follows. Water that consistently overflows near the foundation can work into cracks and compromise the structural integrity of the home over time. These are expensive repairs that a correctly pitched gutter system prevents entirely.
Watch for these warning signs:
- Water overflowing at the end cap opposite the downspout (a classic “back pitch” symptom)
- Gutters visibly sagging or pulling away from the fascia
- Rust streaks or staining on siding directly below the gutter line
- Mold or mildew on the soffit
- Erosion in the soil or mulch directly below a gutter section
How to measure, fix, and adjust your gutter pitch
Correcting gutter pitch is a manageable repair for a capable homeowner, though it does require working at height. Before you start, gather the right tools.
Tools you’ll need:
- Tape measure
- Chalk line
- 48-inch level or digital slope gauge
- Ladder
- Replacement hanger screws or gutter spikes (if existing fasteners are stripped)
- Drill or screwdriver
Step-by-step process:
- Measure the total run. Find the horizontal distance from the high end of the gutter to the center of the downspout outlet. Write this number down in feet.
- Calculate the required drop. Multiply the run by 1/16 inch per foot (or 0.025 if using 1/4 inch per 10 feet). A 30-foot run at 1/16 inch per foot needs a 1.875-inch drop, roughly 1 7/8 inches.
- Mark the high point. At the end of the gutter farthest from the downspout, make a pencil mark on the fascia at the top edge of the gutter.
- Mark the low point. Measure down from the high-point mark by your calculated drop and make a second mark at the downspout end. This is where the top edge of the gutter should sit at its lowest point.
- Snap a chalk line. Connect the two marks with a chalk line. This gives you a consistent reference for the entire run.
- Adjust the hangers. Working from one end to the other, reposition each hanger so the gutter top edge aligns with the chalk line. Loosen the existing fastener, shift the hanger up or down as needed, and re-secure it. Replace any stripped screws.
- Verify with a level. Place a 48-inch level in the gutter channel. You should see a consistent, small gap at the low end confirming the downward slope.
Pro Tip: If your fascia boards show any warping or sag, don’t use them as your reference point. Professionals use laser levels or chalk lines snapped from established horizontal points on the structure to set accurate pitch regardless of fascia condition.
Re-pitching is considered a routine repair. In most cases, you’re adjusting hangers and brackets rather than replacing the gutter itself, which keeps the cost and labor manageable.

What do experts say about gutter pitch and drainage?
One of the most persistent misconceptions in gutter installation is that a level gutter is a correctly installed gutter. Visually, a well-pitched gutter looks nearly level from the ground, so homeowners often assume that’s what they have. A gutter that appears level often fails because it lacks the subtle downward angle needed to move water and clear debris consistently.
Gutter pitch and gutter capacity are two separate variables, and confusing them leads to poor decisions. Pitch controls flow speed; size controls volume. A 6-inch K-style gutter installed with zero slope will still pool water, regardless of how much volume it can theoretically hold. Both factors need to be right for the system to perform under real rainfall conditions.
Excessive pitch creates its own set of problems. A slope greater than 1/2 inch per 10 feet causes water to move so fast it can overshoot the downspout inlet and overflow at corners. It also makes the gutter line visibly crooked from the ground, which affects curb appeal.
Fascia boards are a common source of installation error. Over time, wood fascia warps, sags, and shifts, making it an unreliable reference for setting pitch. Experienced installers snap chalk lines from fixed structural points rather than following the fascia edge, which ensures the slope stays consistent across the entire run even when the backing material has moved.
Jsignorexteriors has more than 30 years of experience installing and correcting gutter systems across Connecticut. That depth of experience means recognizing not just the obvious pitch failures, but the subtle ones: a gutter that drains most of the time but pools water at one section, or a system where the pitch reverses slightly mid-run because the fascia warped after installation. Catching those details at installation, or during a repair visit, is what separates a system that lasts from one that causes recurring damage.
Pro Tip: After any gutter adjustment, run a garden hose from the high end and watch the water travel. It should move steadily toward the downspout with no pooling. This simple test confirms the pitch is working before you put the ladder away.
Common mistakes to avoid when setting gutter pitch
Even experienced DIYers make avoidable errors when adjusting or installing gutter slope. Knowing what to watch for saves you from redoing the work.
Using the fascia as your only reference. Fascia boards move over time. If you set pitch by following the fascia edge without checking against a true horizontal reference, you may be replicating an existing warp rather than correcting it. Always snap a chalk line from a verified point.
Reversing the pitch. The downspout must be at the low end of the run, not the high end. A reversed pitch, where the gutter slopes away from the downspout, causes water to overflow at the end cap. This is one of the most common installation errors, and it’s entirely avoidable by confirming downspout placement before setting any hangers. For more on how reversed pitch affects building integrity, the consequences extend well beyond cosmetic overflow.
Setting excessive pitch. More slope is not always better. Pitch beyond 1/2 inch per 10 feet causes water to rush past the downspout inlet rather than entering it, and the gutter line looks visibly tilted from the street. Stick to the 1/16 inch per foot standard unless your roof area or local rainfall intensity specifically calls for more.
Spacing hangers too far apart. Even a correctly pitched gutter will sag between hangers if they’re spaced too widely. Standard practice is one hanger every 24 to 36 inches, with closer spacing in areas that see heavy snow or ice loads, like much of Connecticut.
Skipping the water test. Adjusting hangers by eye or by measurement alone isn’t enough. Running water through the system after any adjustment is the only way to confirm the pitch is working as intended. Skipping this step means you may not discover a problem until the next rainstorm.
Ignoring one section because the rest drains well. Gutter systems are only as effective as their weakest point. A single low spot that pools water will cause fascia damage and overflow even if the rest of the run is perfectly pitched. Check the entire length, not just the sections that look problematic. Pairing proper pitch with quality gutter installation from the start is the most reliable way to avoid these issues altogether.
Avoiding these mistakes also matters in the broader context of your home’s exterior. Poor drainage from an incorrectly pitched gutter can erode landscaping and undermine hardscaping, much like other common installation mistakes in new builds that affect long-term property integrity.
Key Takeaways
Correct gutter pitch, set at 1/16 inch per linear foot toward the downspout, is the single most important factor in preventing water pooling, fascia decay, and foundation damage in your home’s drainage system.
| Point | Details |
|---|---|
| Standard pitch rate | The industry baseline is 1/16 inch of drop per linear foot, or about 1/4 inch per 10 feet. |
| Calculate before you adjust | Multiply your total run in feet by 1/16 to get the required drop in inches at the downspout end. |
| Recognize the warning signs | Standing water, sagging gutters, and overflow at the end cap all point to a pitch problem. |
| Avoid excessive slope | Pitch above 1/2 inch per 10 feet causes water to overshoot the downspout and creates a crooked gutter line. |
| Verify with a water test | After any adjustment, run a hose from the high end to confirm steady flow toward the downspout. |

If your gutters are pooling water, sagging, or overflowing during moderate rain, the pitch may be the problem. Jsignorexteriors has served Connecticut homeowners for more than 30 years, handling everything from pitch corrections to full gutter installation with the precision that prevents these issues from coming back. Our team is fully licensed and insured, and we complete every project on time and within budget. Contact Jsignorexteriors today to schedule an inspection and get your drainage system working the way it should.